Tutorial: How to Add a Watermark in PowerPoint

Want to make sure no one can use your PowerPoint without your consent? Watermarking is an incredibly useful tool tan can help you with that. Many people don’t know, but you can add a watermark in PowerPoint presentations. Are you ready to learn how?
What’s a watermark and why to use one
Watermarks are a tool used since long ago to avoid counterfeits and protect original content. You can fin watermarks in stamps, currency… They even go as far as old medieval manuscripts. Watermarks are identifying images that are used to testify the document’s originality. They are set underlaid the main content, usually with a translucent look. This way, it’s not possible to change the contents without altering the watermark too.

With the rise of digital documents, watermarks had to be updated too. Now, in the digital era, coping is even easier than it was before, many times as easy as a click. Watermarks have survived because, just like before, they’re a great way to prove the authenticity of a document and to avoid counterfeiting.
Why use a watermark in PowerPoint presentations
Watermarks are not new to Windows and Adobe documents. You might have seen watermarks in Word documents, or pdfs, for example, since these are the most common way to transmit legal content that you would probably like to protect. But a document doesn’t have to be strictly legal to want to protect it. PowerPoint presentations, especially business ones, might also have sensitive information that you might want to protect.

Adding a watermark in PowerPoint can help you make sure no one else uses your business design and corporate image for their presentations. It can help you make sure that your content can’t be changed and counterfeit. As long as it has your watermark, your collaborators and clients will be able to know that that is the official content you’re sharing, and nothing else. In short, watermarks are a great tool to protect your image.
You can even add watermarks in PowerPoint as practical tags. For example, to let your team know that the version you’re sending is a draft, or that it’s urgent that they go through it.
How to add a watermark in PowerPoint
It’s worth to notice that PowerPoint doesn’t have an automatic watermark option on its own. But it’s still possible to make one for your presentation. You just need to follow a few steps.
1. Open your presentation. You can edit it after you’re added a watermark, so it doesn’t matter is it is finished or not.
2. In the View tab, pick the Slide Master option (View > Master Views > Slide Master). Another ribbon will open, with all the Slide Master functions.

3. While still on the Slide Master, pick the Insert tab, and choose Illustrations > Shapes. Insert a rectangular shape.

4. Double click the rectangle you have just inserted and you’ll get the Format Shape menu. In the “Fill & Line” tab, pick the Picture or text fill. This will allow you to search for the picture you want your watermark to be.
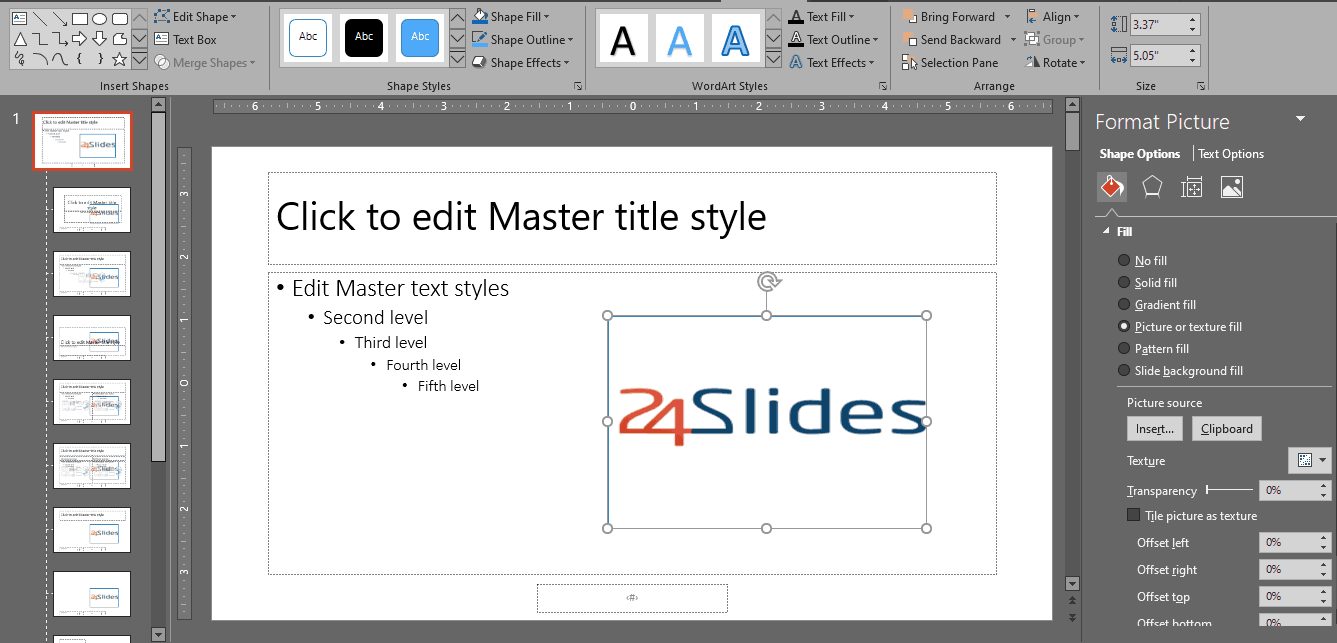
5. With the Format Picture menu, you can edit your watermark as much as you want. Try changing its transparency, for example, or deleting the line from the rectangle shape. Once you’re happy with it, click on any other part of the slide to return to the Slide Master ribbon, and pick the Close Master View option.

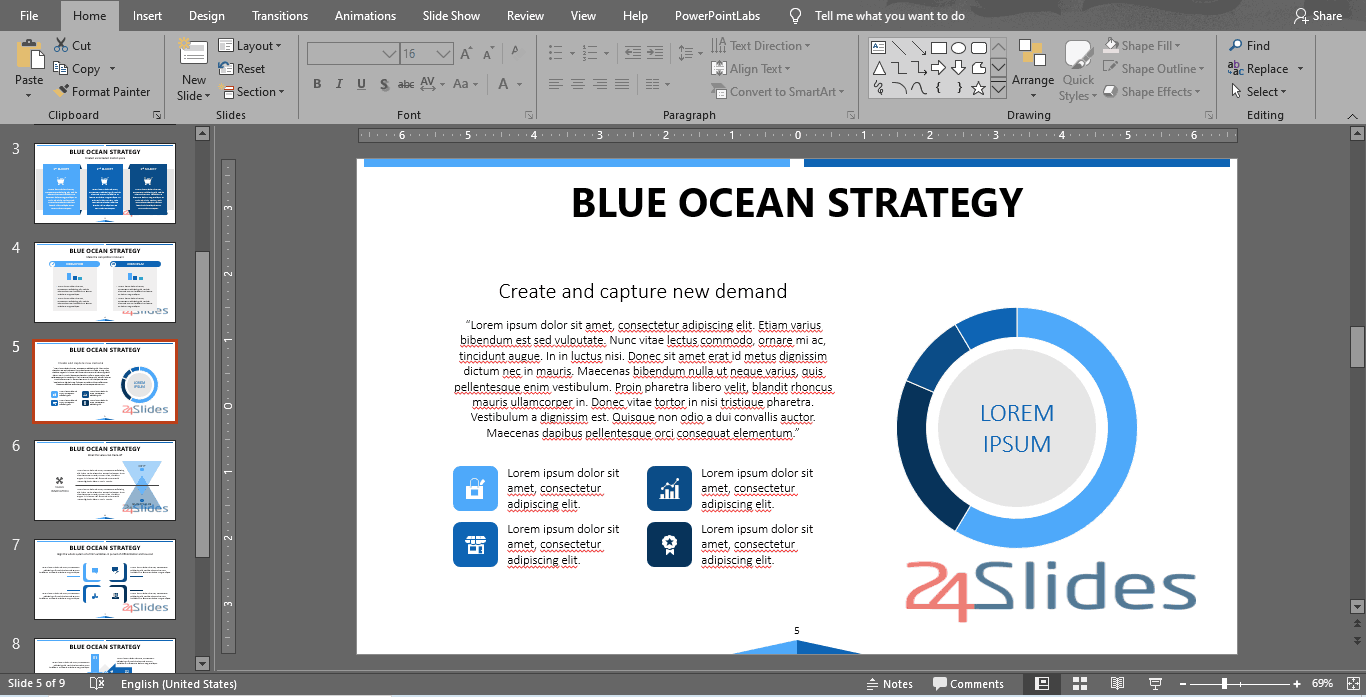
6. And you’re all done! Your PowerPoint should now have a watermark in all its slides.
Now you know how to add a watermark in your PowerPoint presentations. As always, practice makes perfect. So don’t get disheartened if the first times its a slow and complicated process. You’ll probably master it in no time!
You can find the Blue Ocean Strategy PowerPoint (with no watermark), and many, many more templates in our Templates by 24Slides platform.