How To Convert Google Slides To PowerPoint and Vice Versa
If you think converting your Google Slides file to PowerPoint (or vice versa) is hard, then you need to read this article. In this tutorial, I will show you just how easy and simple the whole conversion process is.
Google Slides and Microsoft PowerPoint are two of the most popular presentation software nowadays. While many people will argue that PowerPoint is better than Google Slides, let’s not forget that PowerPoint is about 2 decades older so they’ve had plenty of time to work on their software! With that being said, Google Slides has gained a lot of popularity in recent years thanks to its integration with the free, web-based Google Drive ecosystem.
Thankfully, these two companies have found a way to make their presentation files compatible with each other. This means that if you have a PowerPoint presentation, you can upload and present it using the Google Slides format. If you’ve got a Google Slides presentation, you can easily convert it to PowerPoint. Of course, you may still have to tweak your converted files to make it look like the original but at least you don’t have to do everything from scratch again. This tutorial was writtein collaboration with 24Slides’ presentation experts. Let’s proceed to the first part of our tutorial.
How To Convert Your Google Slides Into PowerPoint Format
- Log in to your Google Drive account.
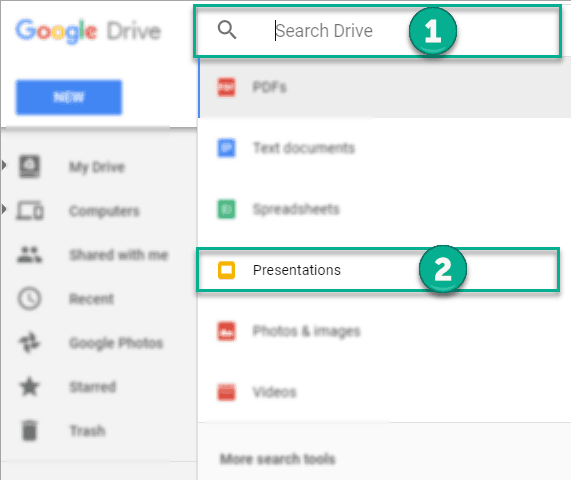
- If you’ve got a lot of files in your account, you can do a quick search by clicking the search bar at the top. You will then be presented with the different Google Drive file types. Select ‘Presentations’ to view available presentations in your account (yes, files in the ‘Shared With Me’ folder are scanned too).
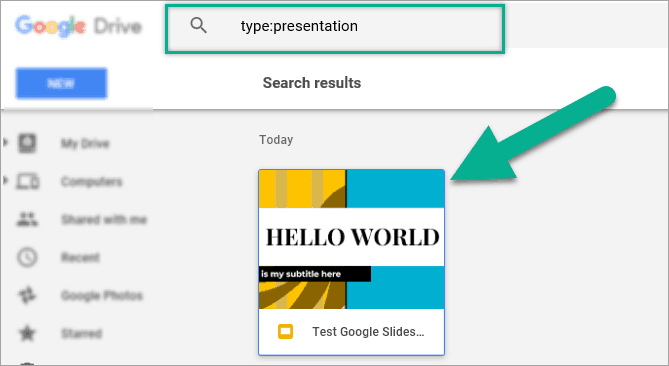
- Double click on the presentation file you want to convert to PowerPoint.
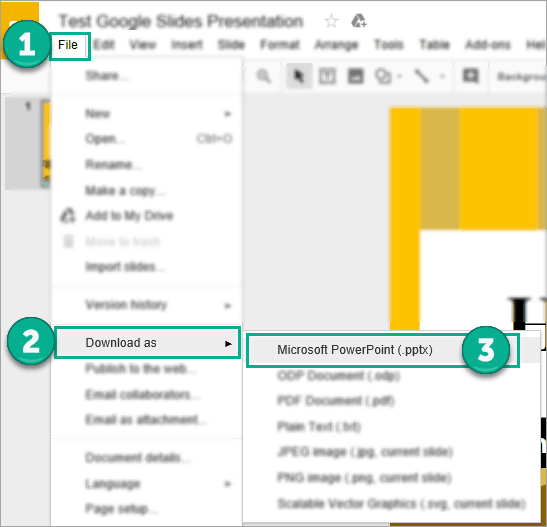
- Go to the menu at the top then click on File > Download As > Microsoft PowerPoint (.pptx)
- Depending on your browser, you should be able to access your newly-converted PowerPoint file straight away. Here’s how to access your file on Google Chrome, Mozilla Firefox, and Microsoft Edge.
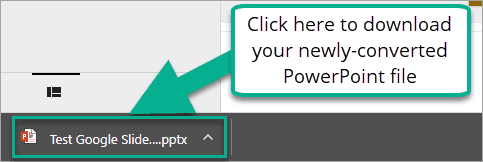
Google Chrome
In Chrome, you normally see your downloads in the bottom-left corner.
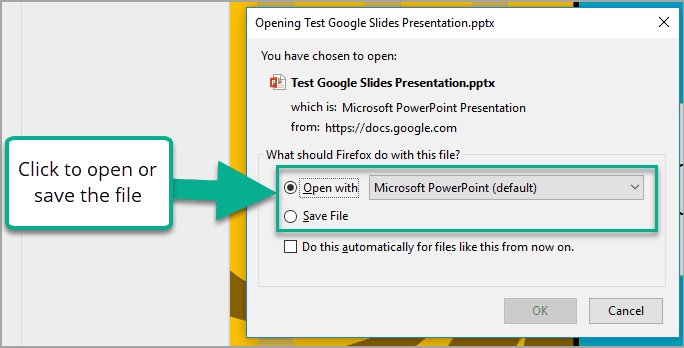
Mozilla Firefox
In Firefox, you’ll get a popup like this one where you can choose to Open or Save your PowerPoint file.
Microsoft Edge
In Edge, you normally see the option to Open or Save the file in the bottom center of the screen.

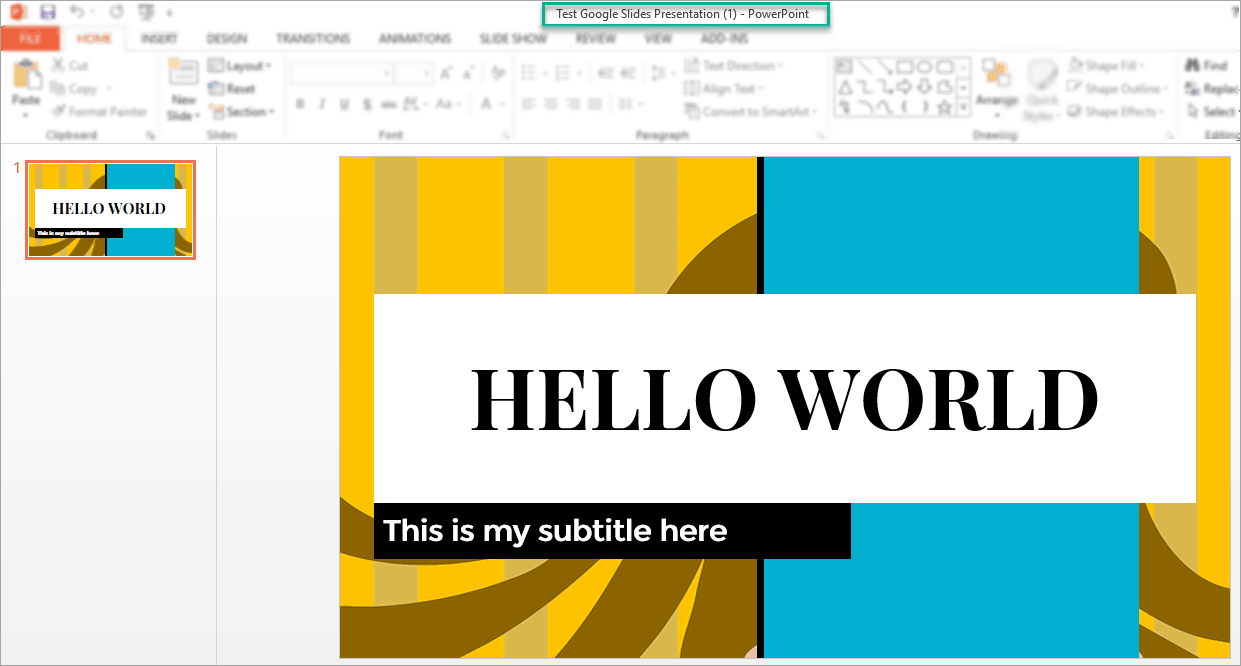
6. That’s it! You’ve just successfully converted your Google Slides into PowerPoint. In case you’re wondering, this is what my test file looks like when converted:
Now that you know how easy it is to convert your Google Slides to PowerPoint, you’re probably curious if the opposite is also true. Read on to find out how to convert a PowerPoint file to Google Slides.
How To Convert A PowerPoint File To Google Slides Format
There are quite a few methods you can use to convert your PowerPoint file into Google Slides. The first two methods I will discuss in this tutorial will deal with converting the WHOLE PowerPoint file. The third method will cover how to convert only a FEW PowerPoint slides.
Method 1. Upload or Drag & Drop PowerPoint Into Google Drive
- Log in to your Google Drive account.
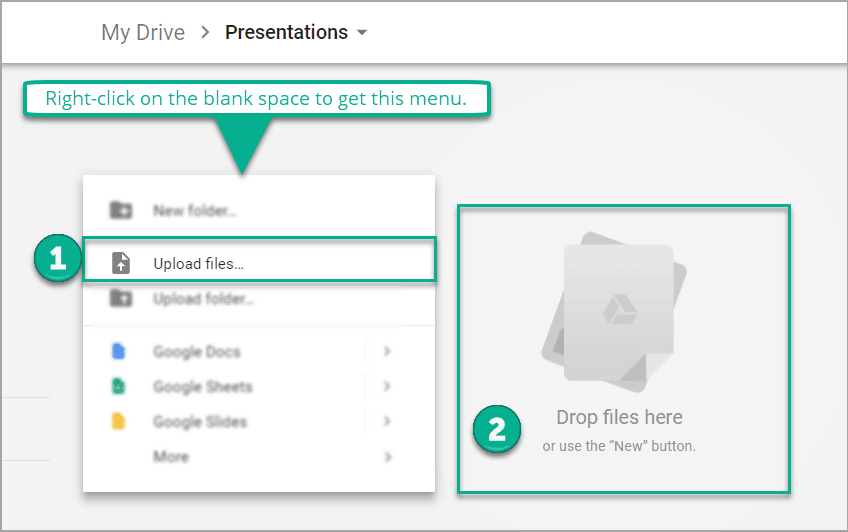
- You have two options here: (1) you can either right-click on the gray canvas as you see below or (2) you can simply drag and drop your PowerPoint file into Google Drive’s root folder or any other folder you like.
For this tutorial, I made a folder called ‘Presentations’ and will be uploading my test file to this folder.
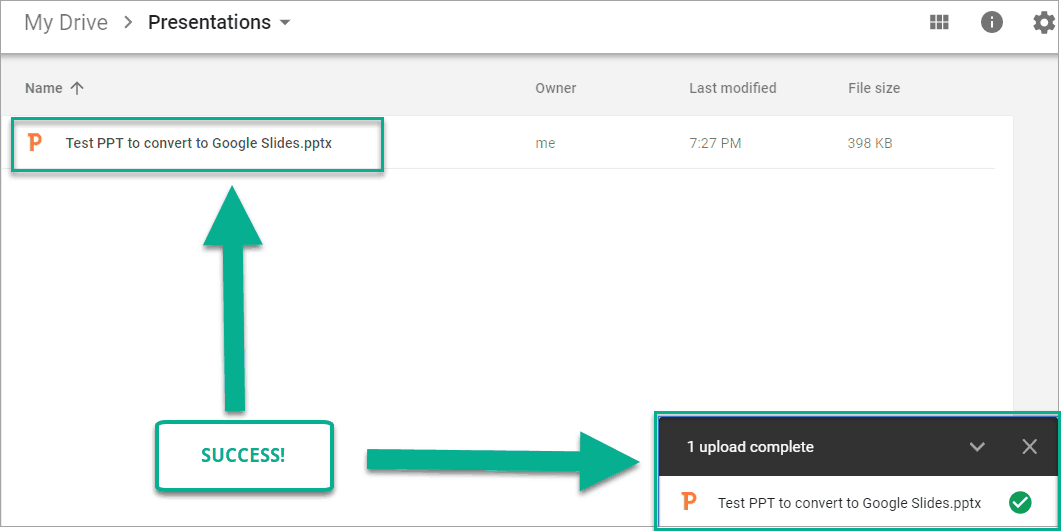
3. When you’ve successfully uploaded the file, you’ll see a confirmation message on the bottom right corner of your browser. You’ll also see your file listed in your Google Drive folder.
4. Double click on the PowerPoint file. You will then see the screen below. Click on Open With then Google Slides.
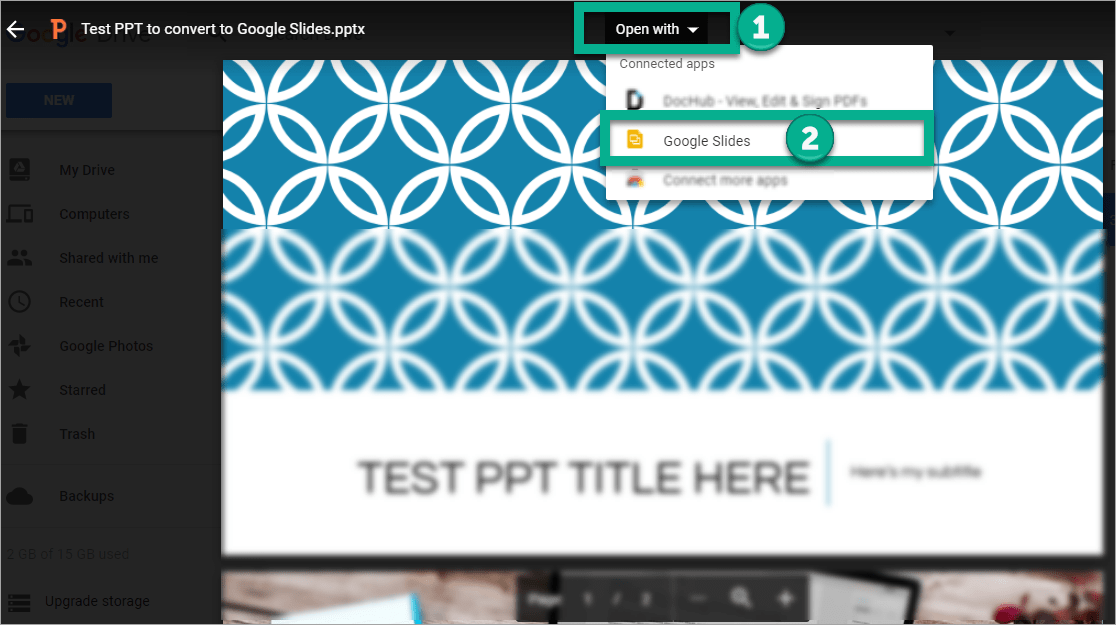
5. Google will now do the conversion process and create a new Google Slides file from your PowerPoint (read more on this below).
6. After a few seconds, you will be able to access your new Google Slides file BUT note that the filename still says .pptx. To avoid confusion, I recommend you edit and remove the .pptx in the filename.

7. You may now edit your new Google Slides file just like any other file of this format!
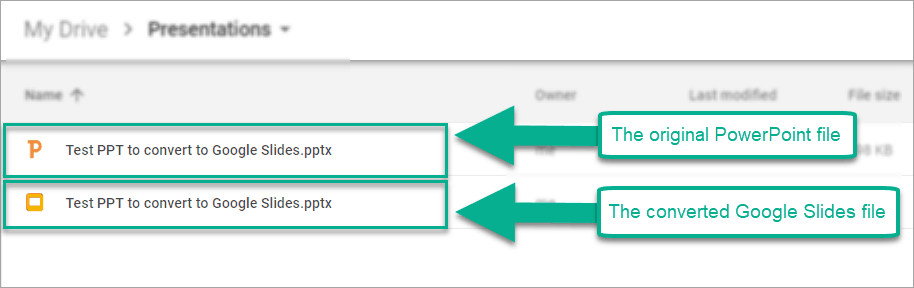
So what happened to your old PowerPoint file?
Like I mentioned in step 6, Google just created a copy of your original PowerPoint file. When you view your Google Drive folder, you will now see BOTH the original PowerPoint file and the new Google Slides file.
Method 2. Create A New Google Slides File and Import The PowerPoint
- Once you’ve logged in to your Google Drive account, click on the big blue button that says New, then go to Google Slides > Blank Presentation.

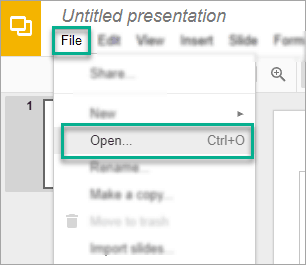
- In your new blank presentation file, click on File > Open.
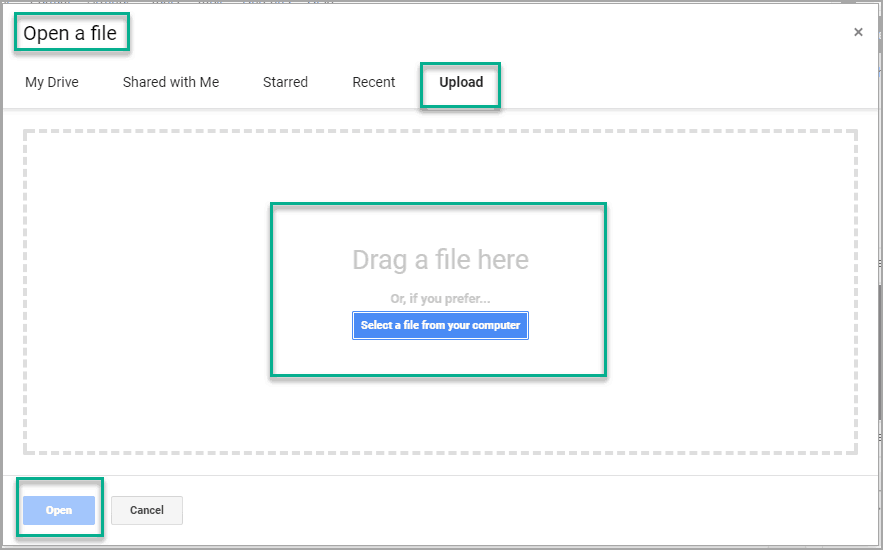
- You will then see this Open a file dialog box. Click on the Upload tab and then either drag your PowerPoint file or click on the blue button ‘Select a file from your computer’. Click the Open button once you’ve selected your file.
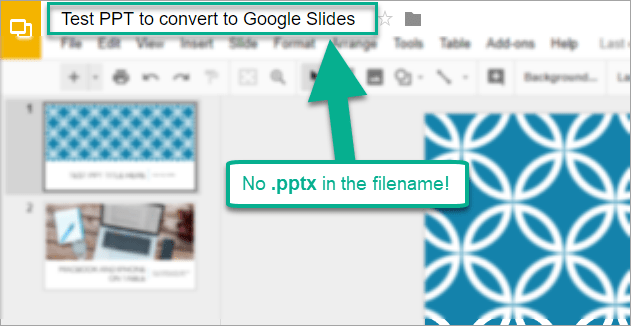
- And that’s it! Your PowerPoint file has now been converted into Google Slides format and you can edit it as you see fit. What I really like about this method is the filename no longer contains the .pptx extension like we saw in Method 1.
Method 3. Convert Only A Few PowerPoint Slides To Google Slides
In this method, you can choose to start a blank Google Slides file (check steps 1-2 in Method 2) or an existing one. Either way, the steps below will apply for both cases.
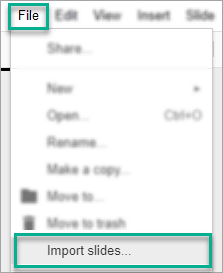
- On your blank or existing Google Slides file, click on File > Import Slides.
- You will then see the Import Slides dialog box and you will be presented with two options. You can choose either (1) import slides from existing presentation files in your Google Drive, or (2) you can upload a PowerPoint file from your computer. Once you’ve chosen the file, click on Select to load it.
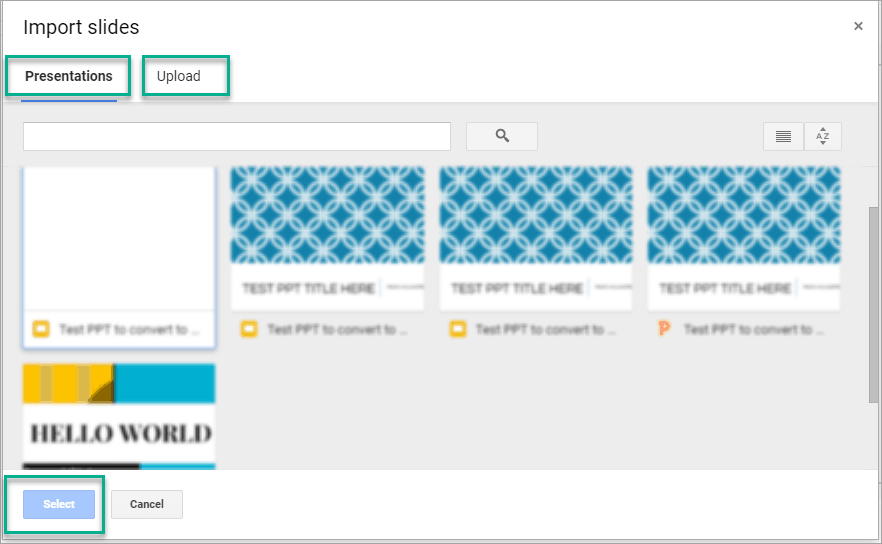
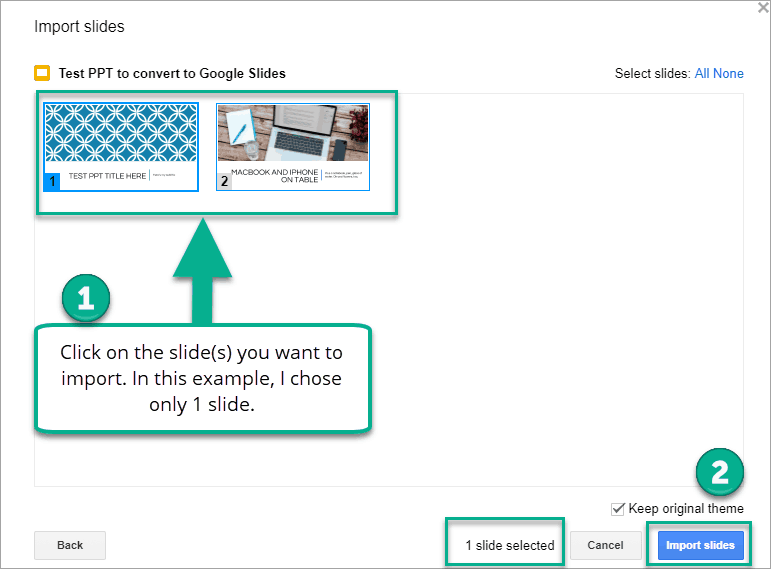
- Whichever option you choose in step 2, the next screen will show ALL the slides for your chosen presentation file. It will look something like the screenshot below. All you have to do is just click on the slides you want to import (or select all if you want). Then click on the Import Slides button.
- That’s it! Your imported slide(s) will now appear on your Google Slides file and you’re free to edit it as you want.

What’s Your Favorite Presentation Software?
We all have our preferences. Some may prefer Google Slides. Some may prefer the more robust PowerPoint software. Personally, I use PowerPoint a lot but I love Google Slides too especially when working with other people on a presentation. But just like I’ve shown you in this tutorial if you need to convert one file to another, it’s all really quite easy. So whether you prefer one presentation software over another, know that you can convert your files in just a few seconds.