How to work with GIFs in PowerPoint
GIFs have taken over social media and the world. You can find an incredible variety of all kinds of GIFs for your everyday life. But GIFs also have great potential to be used in a more professional environment. Even if they don’t fit every single situation, if you learn to use them wisely, GIFs can really make you stand out. Here you’ll find how and why you should start using GIFs in PowerPoint.

What is a GIF?
First things first, so: what is a GIF? Unless you have been living under a rock, you’ve probably seen them everywhere. Social media platforms as big as Facebook and Instagram have an integrated option to send GIFs in messages. Even communication services like WhatsApp have also started riding the GIF wave.
GIF stands for Graphics Interchange Format, which means it’s actually an image format. Despite its original intended use, nowadays what GIFs are more known as is as small “animations”. They work as lesser-quality, no-sound videos, which make them easier to share anywhere you like.
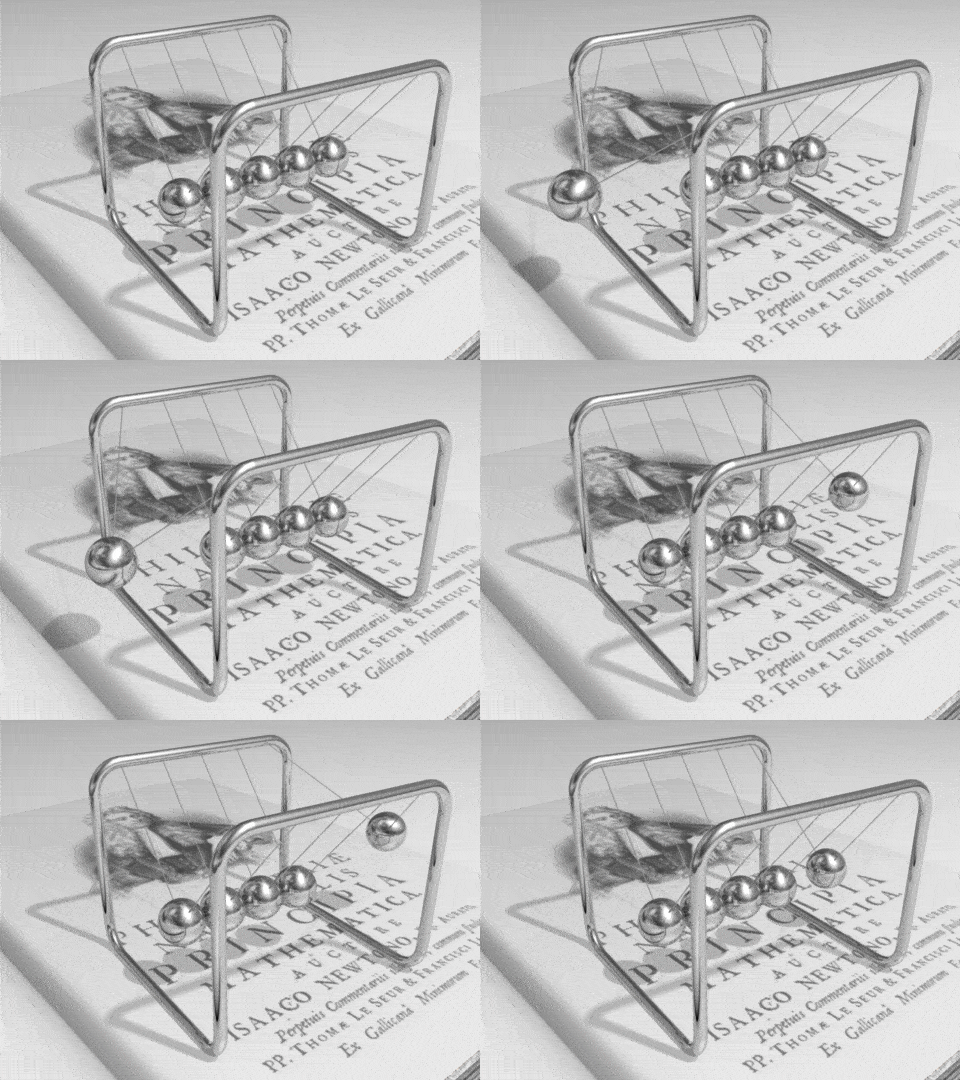
One of the most important characteristics of GIFs that distinguishes them from videos is that they loop. Since its format allows store several images in a determined order, it is possible to form a sequence with these and make a video clip. This highlight is exploited by modern GIFs, differentiating them from everyday videos. They also play automatically, unlike videos, where you have to press play for them to start.
Why you should use GIFs in your presentation
GIFs, like many other visual elements, are a great option to make your presentation unique. People are naturally drawn to movement, so having an “animated” element will guarantee that your audience gives you their undivided attention. The fact that they play automatically and continuously also has its advantages for a presentation.
For starters, they are not as distracting for the presenter. You won’t have to worry about when you should click for your video to start running. The moment you show the slide with the GIF, the moment it will start. GIFs don’t have sound, so you’re able to talk while it’s still playing. Unlike the case of a video; where you’ll have to stop everything until the video finishes, and it will likely ruin your timing. Since GIFs loop, your audience can watch it as many times as they need, without it meaning any interruption for you.
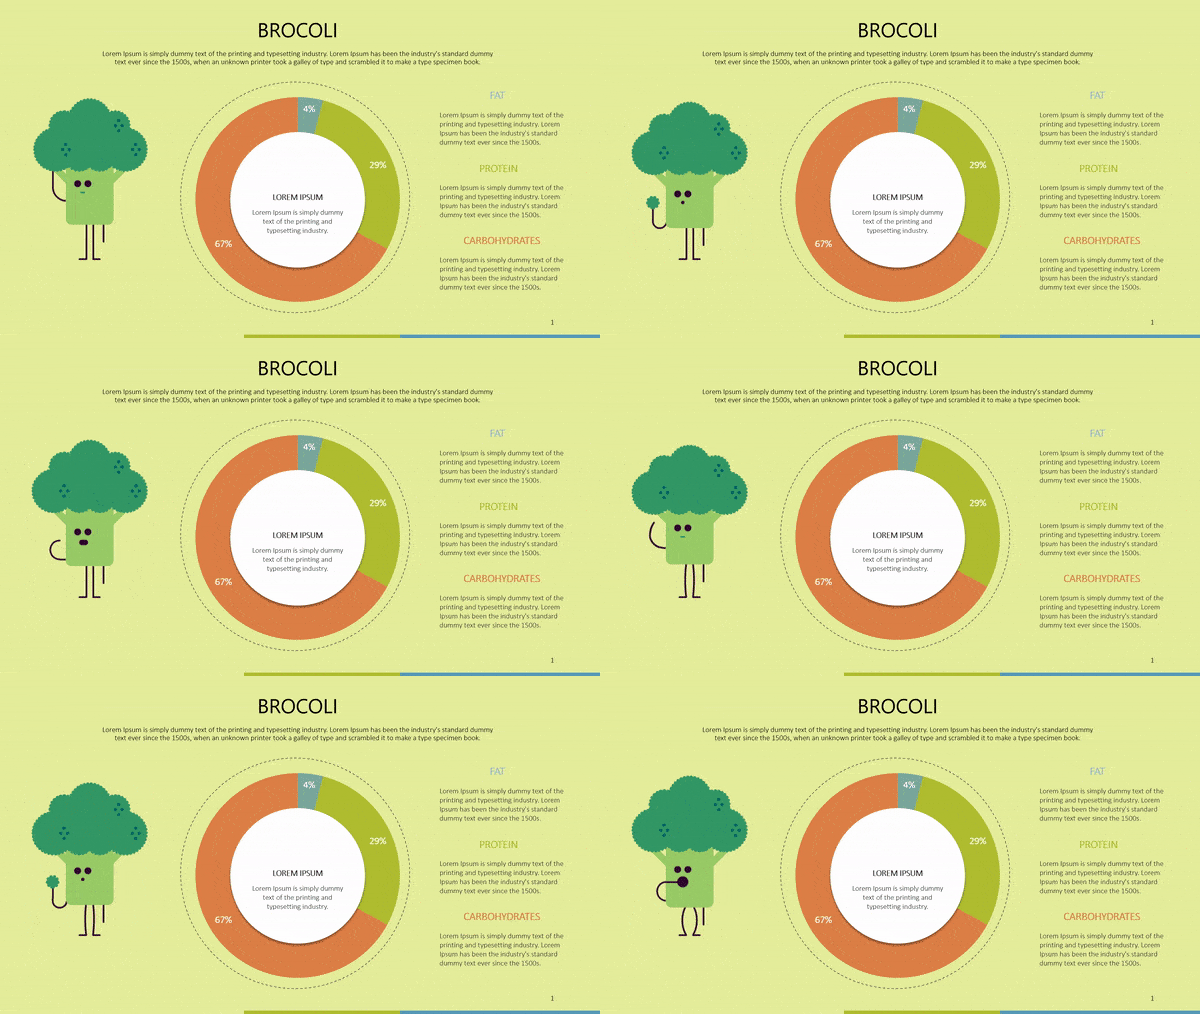
There is a reason GIFs are so popular in social media: they are funny. They invite the public to relate to them and to be part of the joke. GIFs can be an extremely useful tool when trying to add humor to your presentation. Probably a GIF is not alright for any type of audience, but when it works, it works. Think, for example, a casual team briefing. It’s all about knowing your public and knowing what will work for them.
There is one last advantage GIFs have over videos: their size. Videos embedded in presentations tend to fail or to be slow loading because of their file size. This can be a serious misstep, especially when you are expecting something to play and it doesn’t. When using GIFs, this never happens. They are closer to an image than a video in size, and this makes the presentation smaller and easier to share too.
There is a GIF for absolutely anything. So if you’re willing to try them out, GIF powerhouses like Giphy or Tenor will certainly have one that fits your needs.
What you can use a GIF for?
So, what uses can you have for a GIF in a presentation? It depends on your imagination. You don’t want to fill a slide with GIFs (mostly likely it will just be overwhelming and distracting), but a well-chosen GIF can help you convey your message.
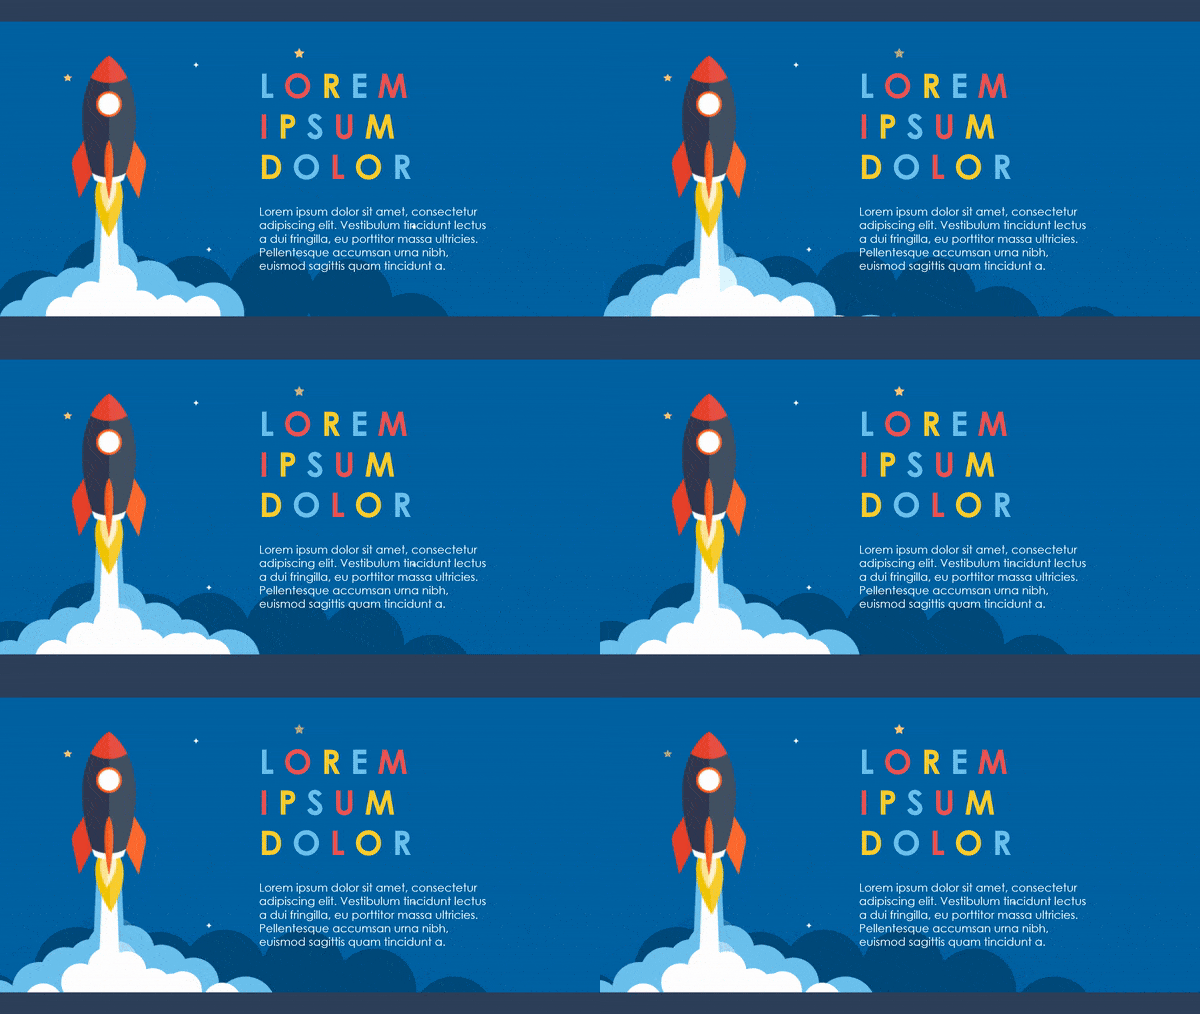
- A GIF can help you illustrate a point or to highlight an idea
- You can use them to rotate 3D objects so your audience has a better look at a specific product
- GIFs can be used as a background to spice things up and make a slide more eye-catching.
- You can have them as a title slide to introduce a topic or a section.
As with images, the sky’s the limit of what you can do with GIFs in PowerPoint.
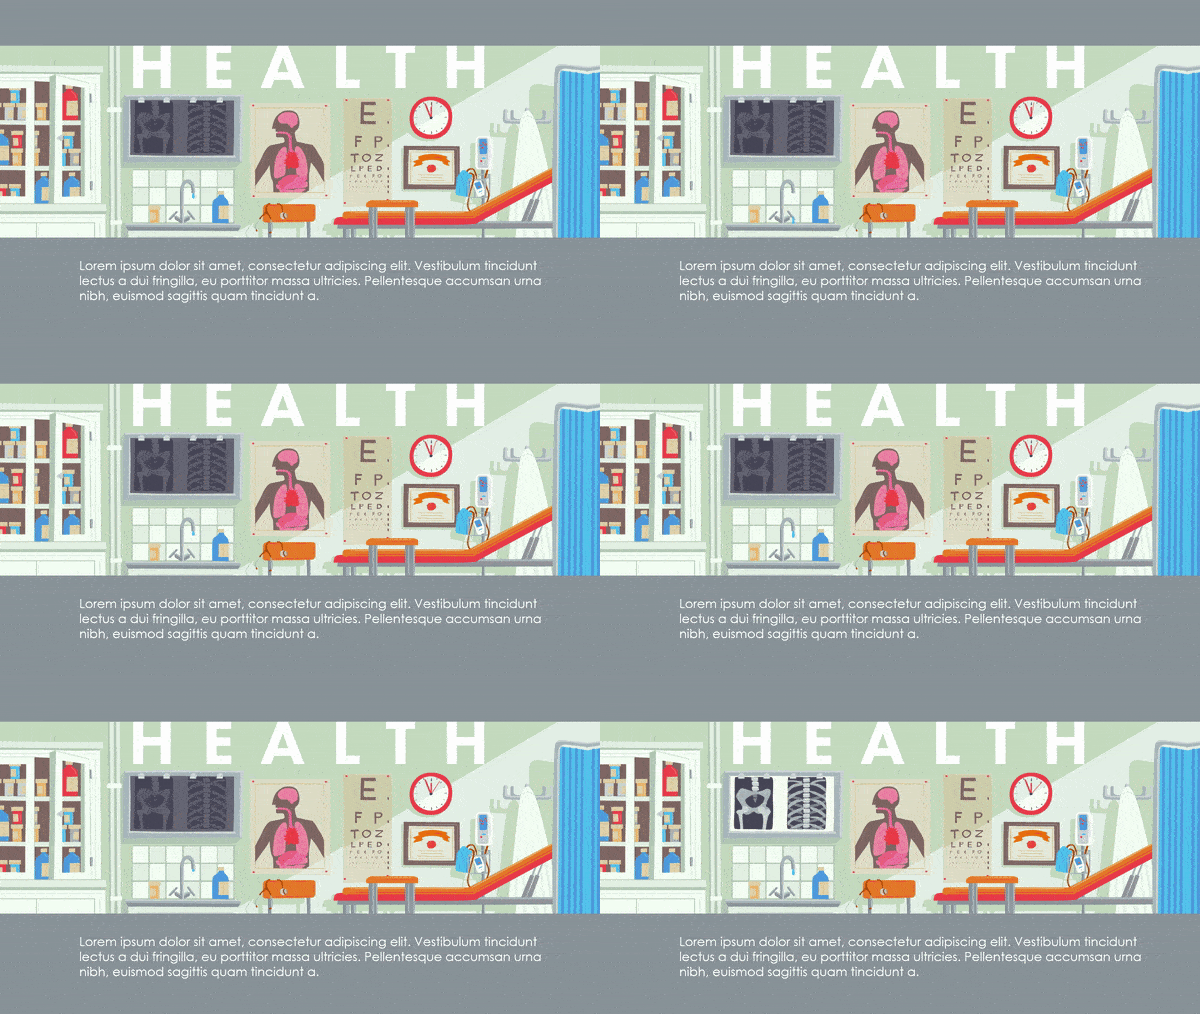
When NOT to use a GIF in a presentation
As wonderful as GIFs are, they should not be applied to every single presentation you have. Especially humorous reaction GIFs can be tricky to know when to add. Your boss will not take too kindly if you add a humorous reaction GIF in the middle of a serious sales presentation. A potential investor may not feel comfortable spending their money in a company that presents its product among jokes.
The best way to determine is you can indeed use GIFs in your presentation is to analyze the relationship with your audience and what you want to accomplish with your presentation. GIFs show humor, and humor is a great way to encourage team spirit and camaraderie. When people laugh together, they feel closer and create stronger bonds. Humor will make you seem more approachable and relatable. But laughter is not the best way to convey professionalism. For example, you probably want to show your more serious, trustworthy side to your boss, not necessarily your most approachable side.

GIFs can also showcase out-of-the-box thinking. GIFs as a background and to illustrate a point are usually versatile enough to be used in more situations. They can give a unique feeling to an otherwise plain presentation. Still, you need to be careful. Adding a GIF to every single slide will make the presentation feel heavy and burdensome. Pick what elements or slides you want to emphasize, and use GIFs only in those.
How to embed a GIF on a PowerPoint
Since GIFs are in theory an image format, it’s extremely easy to add one to your presentation. You can use your preferred way to add images to PowerPoint, and it will work with GIFs too. For clarification, when you add a GIF to your editor screen, it will look like a normal image. But when you put it slideshow mode, the GIF will be animated.
Just in case, here are three different ways of embedding a GIF in PowerPoint
1- Copy-and-paste
When you have located your GIFs (whether it’s saved on your computer or online), you can use the classic copy-paste technique. You need to use the right-click of the mouse > copy, and then right-click > paste in the presentation. Or you can use the keyboard Ctrl+C and Ctrl+V.
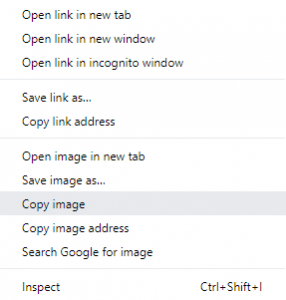
2- If you want to add a GIF you have shaved in your computer to your presentation, you can also use the PowerPoint “Insert” menu. You just have to pick the “Pictures” option, and then look for your file in the File Explorer PowerPoint opens.

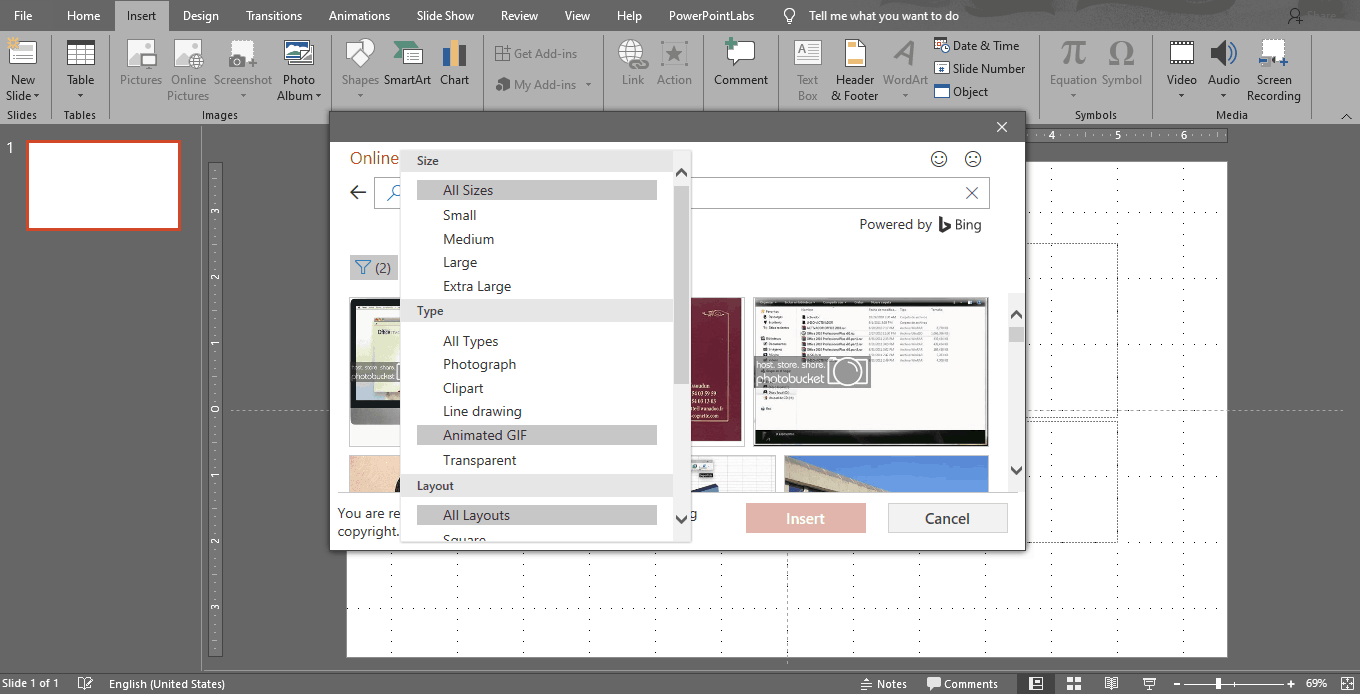
3- For GIFs that you don’t have saved, you can also use the “Insert” menu, but this time with the option “Online Pictures”. In the search bar, you’ll be able to look for whatever keyword you’re looking for, and then pick a GIF. If you want to look for only GIFs, remember to change the filters to “animated GIF” so you don’t lose your time scrolling through thousands of pictures.
How to make a GIF out of a PowerPoint
While mostly everyone has PowerPoint, converting your presentation to other media can help make it easier to share and boost its reach. PowerPoint can be converted to pdf, for example. This is extremely useful in case your audience wants a copy of your presentation, but don’t have the software.
Another option is to convert your PowerPoint to video. This is great because it allows you to keep the presentation as an audiovisual product, as it was designed to be consumed. But at the same time, it ensures that people will watch your presentation exactly as you intended it to be seen. As a video, no one can edit or alter your presentation, unlike what happens when you send anyone the presentation file as a PowerPoint. It also allows you to share it on different platforms, for example, YouTube.
So, why convert your presentation to a GIF? As with a video, it allows you to share your presentation on other channels you wouldn’t have access to otherwise. The fact that GIFs files are way smaller than videos is a really important advantage. The other main difference with videos is that you can make GIFs loop. For example, in case you wish to emphasize growth in an animated slide, you could only play it once in a presentation. With a GIF, you could have it repeat in the background constantly.
The process is very simple since it is pretty much the same to convert a PowerPoint to a video.
-First, you need to pick the slide (or slides) that you want to loop and copy them in a separate file.
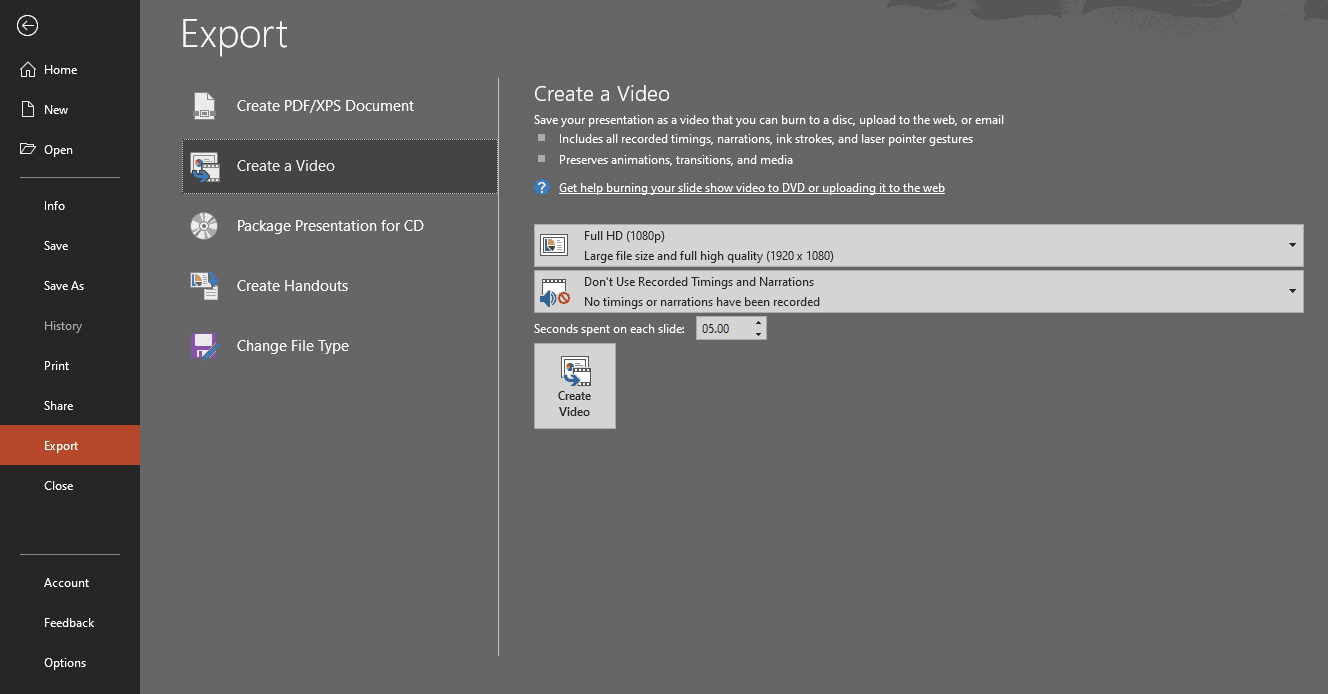
-Second, save that new file as a video. You should go to File > Export and then choose the option Create a Video. If you need more help, you can check out this tutorial on how to save your presentation as a video.
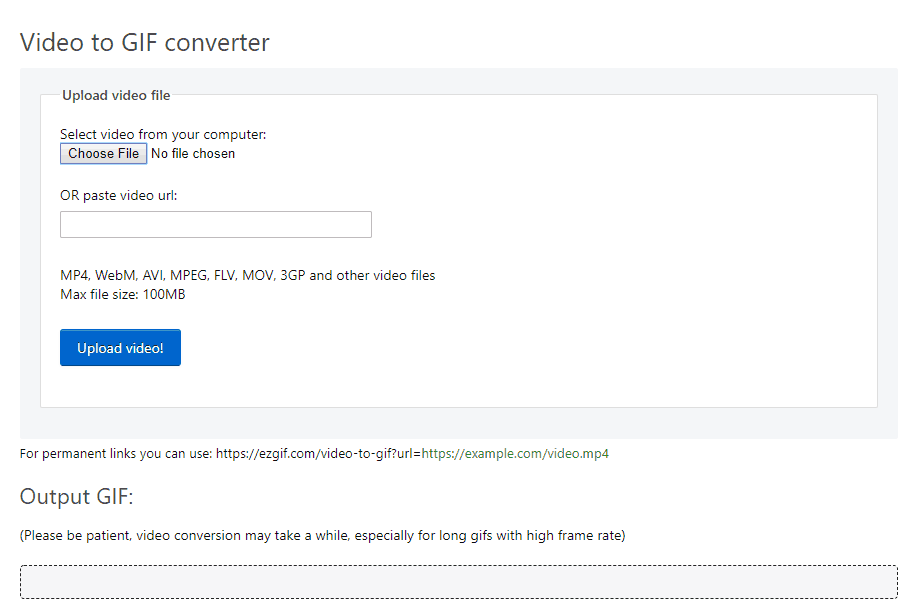
-Finally, you can use an online video to GIF converter. There are thousands on the internet, so just pick one and upload your file. The converter will do the rest! You just have to download it and you are all set to use your PowerPoint GIF as you see fit.
Now you can start creating some great PowerPoints. Microsoft offers an amazing number of possibilities to make your presentation stand out. It is up to you to use all these tools. If you lack the know-how, time or simply want truly unique presentations, get in touch with 24Slides. We’re a custom presentation design agency that works with some of the largest companies around the world. Just send your content and we’ll transform it into a high-impact masterpiece in 24 hours.


