How To Use PowerPoint Templates in Apple Keynote and Google Slides

If you didn’t already know about it, then yes, it’s true that Microsoft’s premier presentation software, PowerPoint, plays well with Apple’s Keynote and Google’s Slide. Well, it’s about time, honestly. It’s 2019 and PowerPoint’s compatibility issues with other presentation software’s are mostly a thing of the past. You will not get a native PowerPoint experience per se, but the good news is, it’s not as painful a process as it once was. In this article, I will show you how you can use PowerPoint templates in Apple Keynote and Google Slides.

Why Use PowerPoint Templates At All?
You can download plenty of Keynote templates and Google Slides templates online. You’ll find both free and premium templates in a lot of places. However, PowerPoint has been around for decades (it was launched in 1990) and have the lion’s share of the presentation software market. Simply put, there’s an incredibly large market for PowerPoint users. This is mainly the reason most presentation designers prefer to make templates for PowerPoint instead of Keynote and Slides.
For instance, our very own Template Hub has hundreds of 100% free PowerPoint templates that are all made from scratch by our in-house designers. We have plenty of timeline templates, roadmap templates, SWOT templates, marketing and corporate templates, organization and planning templates, maps, icons, and so much more! And we publish new templates every single month, so be sure to register your free account today!
Meanwhile, if you prefer premium templates, you’ll find the following template stats on Graphic River:
- 8,300+ templates for PowerPoint
- 4,400+ templates for Keynote
- 2,400+ templates for Google Slides.
On Envato Elements, these are their published templates to date:
- 4,200+ PowerPoint templates
- 3,000+ Keynote templates
- 2,200+ Google Slide templates
I’m sure you can see the trend – there are more PowerPoint templates than any other presentation software out there. With competitive pricing and frequent updates to PowerPoint (courtesy of an Office 365 subscription), this trend isn’t likely to reverse anytime soon.
Part I: How To Use PowerPoint Templates in Apple Keynote
To get started, open up Keynote on your Mac. You can either look for it in your Dock, in Launchpad, or in your Applications folder. It comes pre-installed on modern Macs, but if you can’t find it on your computer, then you can try downloading it on the App Store. If you’re on a non-Apple device, then you’re out of luck. Keynote only runs on Apple devices.
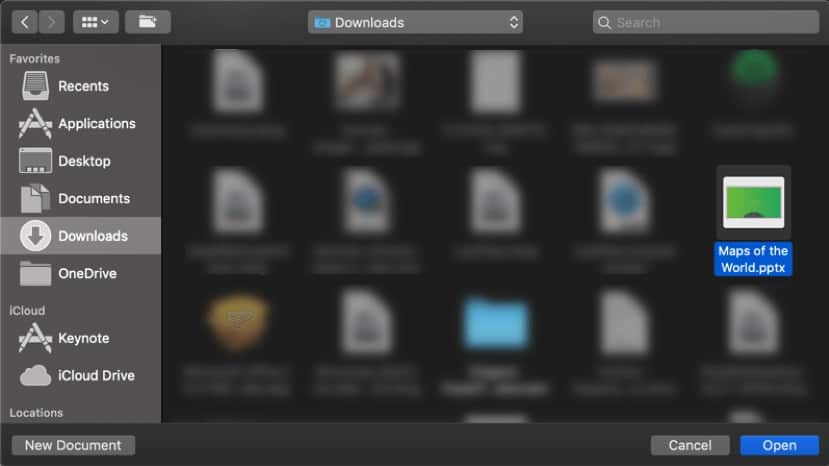
Once you’ve opened the app, you’ll be asked to either open an existing document or create a new one. Since you’re trying to open an existing PowerPoint template, you need to locate the file first and then click the Open button. For this example, I’ve downloaded the free Maps of the World PowerPoint Template. Here it is in my Downloads folder:
Depending on your PowerPoint template, you may see something similar to the screenshot below. Apparently, some fonts in the original PPT file are missing and Keynote is letting me know about it:
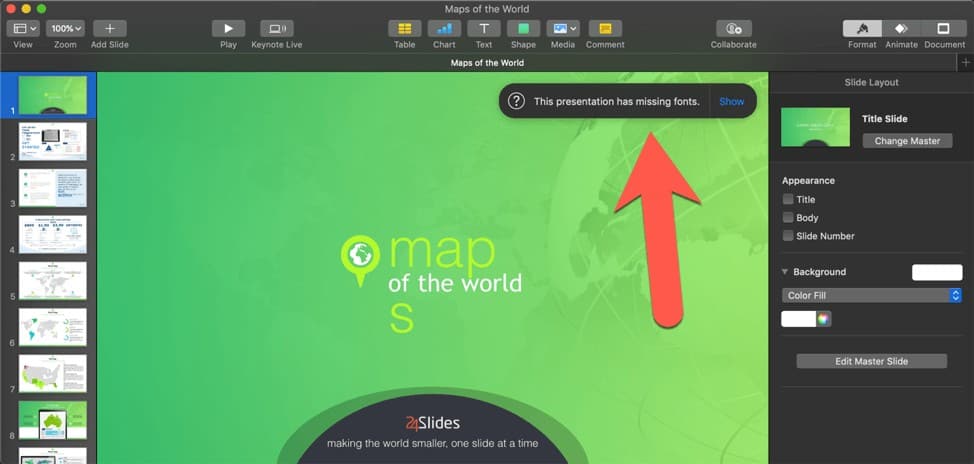
If you want to know what the issues are, then just click on the blue ‘Show’ button. Mine looks like this:
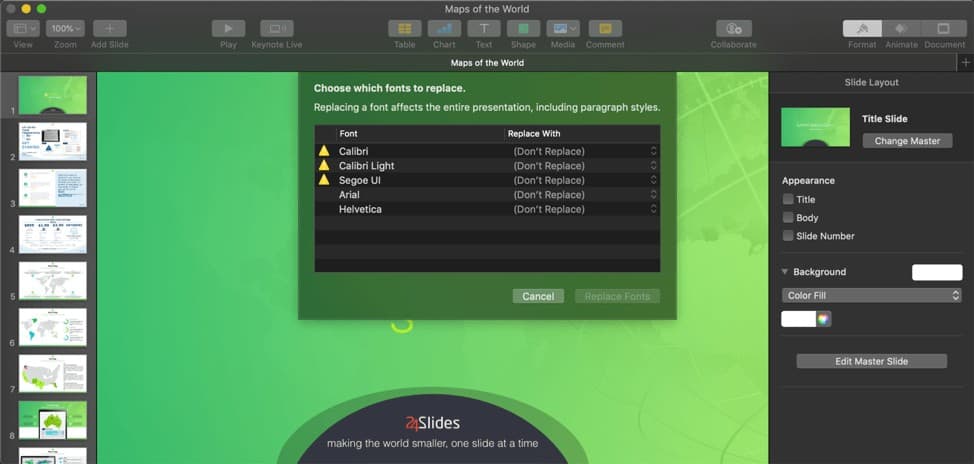
So, I’ve got Calibri, Calibri Light, Segoe UI, Arial and Helvetica listed as not available in Keynote. If you find yourself in the same situation, just replace any of the unavailable fonts by clicking on Don’t Replace. You can then go through the drop down list of available fonts and select the appropriate replacement font.
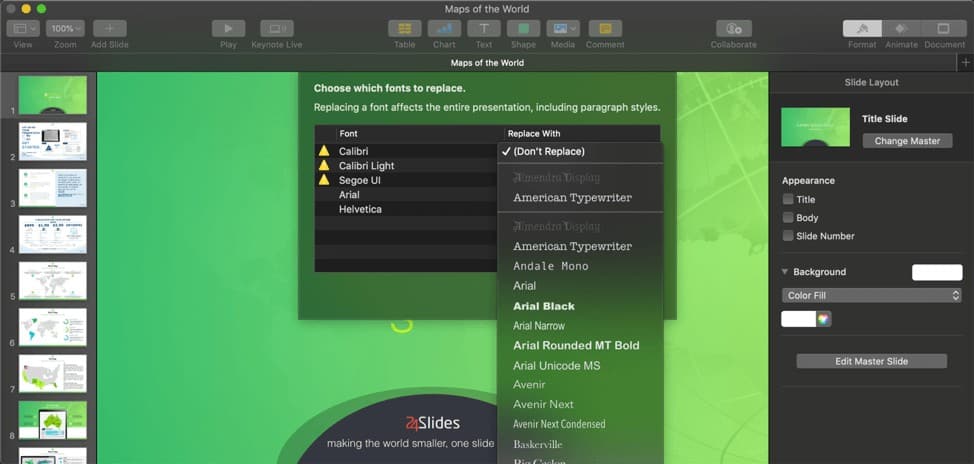
As you can see above, Calibri, Calibri Light and Segoe UI have a yellow triangle icon which means there’s no equivalent font in Keynote. However, Arial and Helvetica don’t have the said icon. So, if you want to use Arial and/or Helvetica in your presentation, then select these from the drop down and you’re good to go!
Once you’ve addressed the issues, you can then go about editing the file as normal. However, as you can see below, some of the texts aren’t displaying correctly because of the unavailable fonts (check out the red box below):
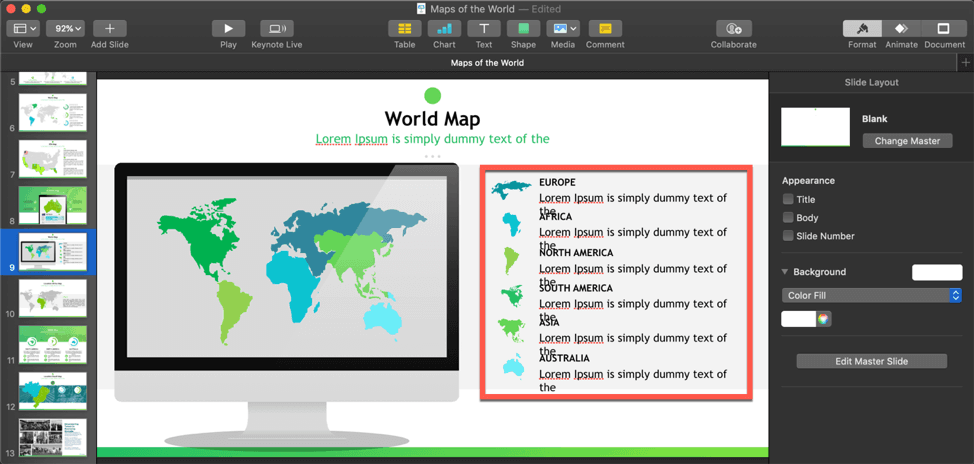
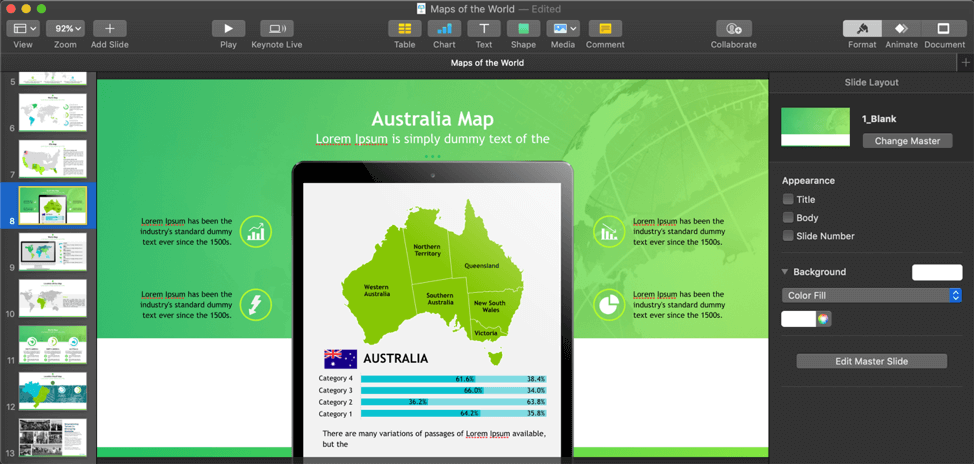
For the most part, however, the PowerPoint slides displayed perfectly on Keynote.
Here is a sample screenshot:
As a side note, I also noticed that Keynote replaced the unavailable Calibri and Calibri Light fonts with Trebuchet MS. It also used the same font size for the fonts it automatically replaced. So, for the original 28pt header Calibri, Keynote used a 28pt Trebuchet font as a replacement. For the 11pt Calibri body text, Keynote replaced it with 11pt Trebuchet font.
And that’s it! You can now start editing the PowerPoint file as you would normally edit any other Keynote file. You can edit any of the elements, you can add object animations and slide transitions, etc. If you’re new to Keynote, check out this guide on how to create your first Keynote presentation.
How to open PowerPoint Templates in iCloud Keynote
If you’re logged in to iCloud Keynote on your Mac, then you can also access your file literally anywhere with an Internet connection. This is part of the appeal of the Apple ecosystem: once you set up an iCloud account, you can take advantage of Continuity. This feature is awesome because you’re not tied to a single device.
For instance, you can start creating your Keynote on your Mac. However, if you need to be somewhere else and you can’t bring your Mac with you, you can still work on your presentation by accessing Keynote on your iPad, iPhone, or via web browser on any computer!
Important note for Continuity to work:
- Your Mac needs to be on OS X 10.10 or higher, and iCloud Drive must be turned on in System Preferences.
- If you want to access your Keynote files on your iPhone or iPad, make sure the device is running on iOS 8 or higher.
- To access all your iCloud files on a browser, you need to use a supported browser. This means Safari and Google Chrome if you’re on a Mac, and Internet Explorer and Google Chrome on a Windows PC.
Let’s see what happens when I log in to my iCloud account on a web browser (Safari). Since I’ve already edited the PowerPoint template on my Mac’s Keynote, it automatically synced to my iCloud account. This is why when I log in to iCloud, I see the ‘Maps of the World’ file on iCloud Keynote:

As you can see, the overlapping texts I showed you earlier still occurred in iCloud Keynote:
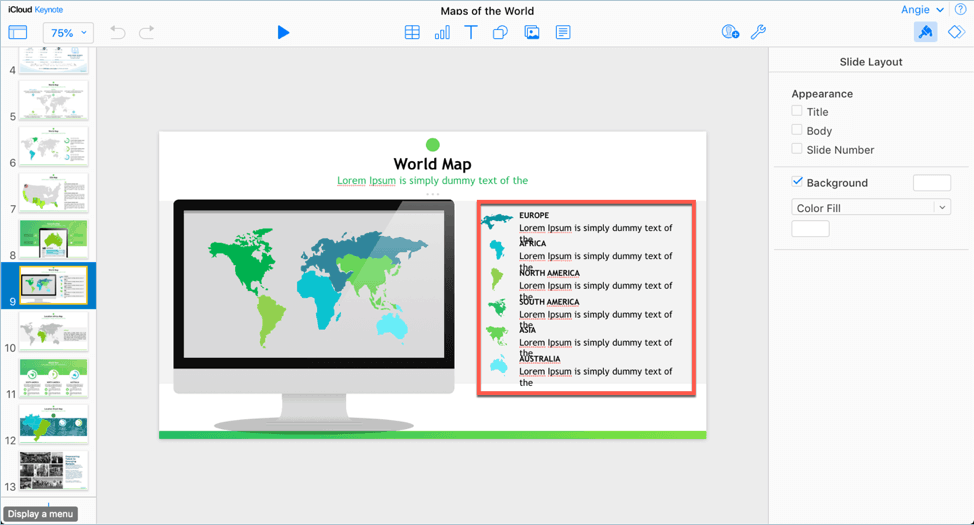
But, the good thing is, if I fixed the text issues on my Mac, then I wouldn’t be facing the same issues on iCloud. Likewise, if I fix the issues on iCloud, then the next time I open the same file on my Mac, then I’ll see the same thing on my screen.
At this point, you may be wondering if it’s possible to open a new PowerPoint template file on iCloud Keynote.
Well, the answer is “YES, you can!”
Here’s a step-by-step guide on how to do this:
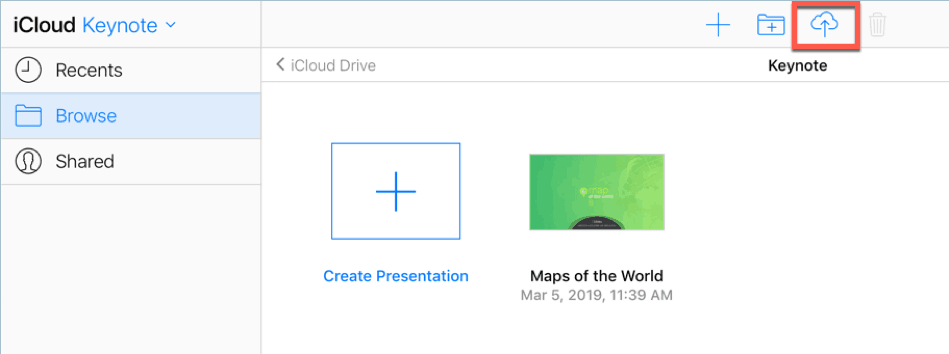
1. Upload the file to iCloud Keynote by clicking on the Upload button:
2. Locate the PowerPoint file you want to upload to iCloud. Then hit the Choose button. For this example, I uploaded the free 2019 Creative Calendar PowerPoint Template from 24Slides. Here it is on my iCloud:
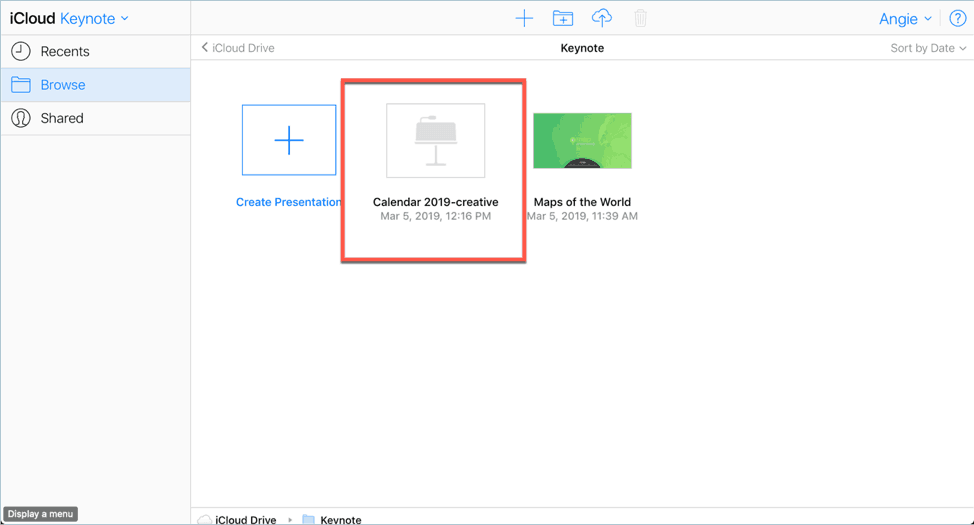
3. When I double click on the file, it will open up in a new browser tab:
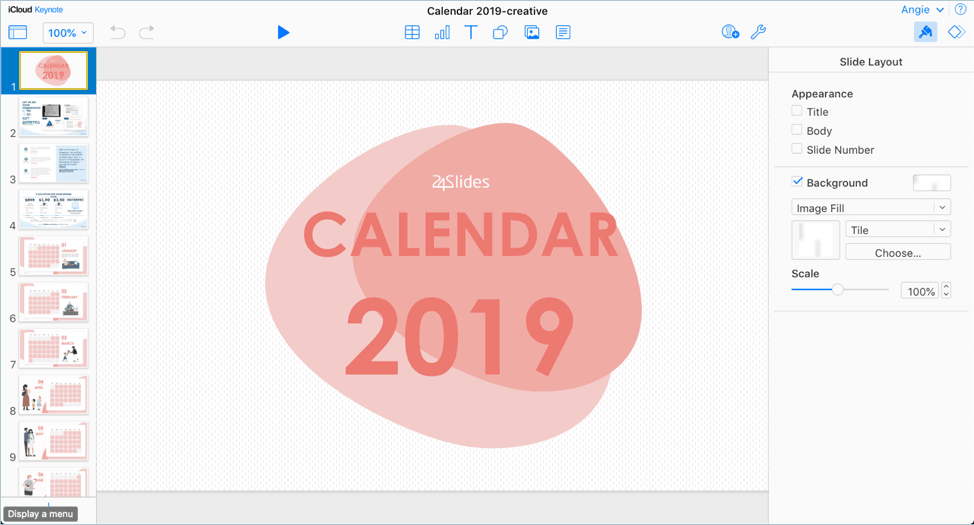
You can now start editing the file as you see fit. You can edit the slides’ appearance, you can change the background, you can add and remove various elements, and so much more.
Go through the different options available on iCloud Keynote. You may notice that not all features available on the desktop app are available on iCloud. So, make sure you go through your presentation first if you intend to use the desktop version for your actual presentation. The same thing goes if you want to use iCloud Keynote as your actual presentation software – make sure everything works perfectly on your end!
If you want to know the latest updates for iCloud Keynote, then you should check this article every now and then as Apple frequently updates their apps.
What happens when there are animations and transitions used in the PPT template?
You’re probably curious about the animations and transitions that may be present on a PowerPoint template. Do they make it over to Keynote? Or does Keynote replace these PPT animations with something else? Or do they disappear entirely?
Well, I did a few tests so I can answer these questions. Here’s a summary of what I did:
- I applied 6 different transition effects to the first 6 slides of the ‘Maps of the World’ template I downloaded earlier:
- First slide – Morph transition
- Second slide – Fade transition
- Third slide– Push transition
- Fourth slide – Wipe transition
- Fifth slide – Split transition
- Sixth slide – Reveal transition
- I then saved the PowerPoint template and opened it again in Keynote. When I checked the Animate > Transitions tab on Keynote, these are the slide transitions that appeared on slides 1-6:
- First slide – Dissolve transition
- Second slide – Push transition
- Third slide – Wipe transition
- Fourth slide – Dissolve transition
- Fifth slide– Dissolve transition
- Sixth slide – No transition effect
Keynote replaced the PPT animations with its built-in options. There’s not much you can do about this as these are obviously different apps from different software companies. So, you have to make a choice:
- If you want to use PowerPoint animations and transitions, then it’s best to stick with PowerPoint.
- If you choose Keynote, then you need to spend a bit more time cleaning up your Keynote file and making sure all the content and animations you want are in there.
What are the saving options in Keynote?
You only need to save your Keynote presentation once. After you give it a filename and save it in your preferred location, then your Mac is going to do the rest and save your file automatically afterward. To save your Keynote, go to File then hit Save.
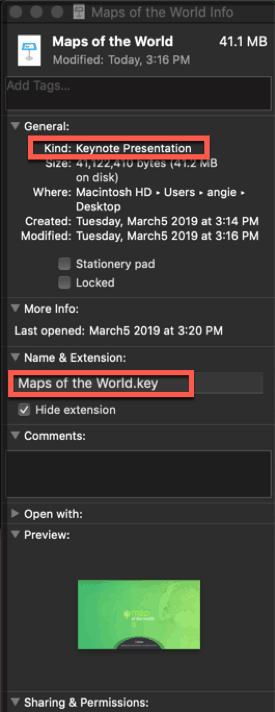
Here’s what the free 24Slides.com PowerPoint template I downloaded looks like after I saved it in Keynote. As you can see below, the file extension has been changed from .pptx to .key.
If you want to save the file back to PowerPoint format, then you’ll need to export it. Go to File > Export To. Select PowerPoint from the drop down menu.
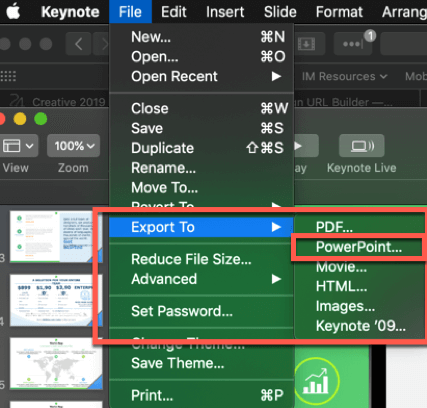
You will then see more export options for your presentation:
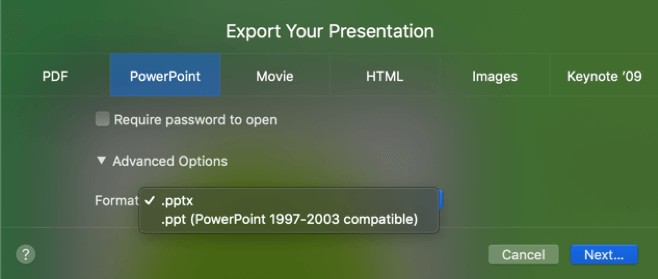
You can export your Keynote file to the newer versions of PowerPoint (.pptx) or to the old .ppt extension which is compatible with PowerPoint 1997-2003. Feel free to add a password if you’re worried about file security.
Just a word of caution though. If you want to export your Keynote file to PowerPoint, you should be aware that you may encounter some compatibility issues, too. This means that some of your Keynote fonts, animations, timings, effects, etc. aren’t going to translate perfectly into PowerPoint.
Part II: How To Use PowerPoint Templates in Google Slides
Unlike Keynote which runs exclusively on Apple devices, Google Slides is accessible to anyone with a computer. You simply need to have a Google account. This one account unlocks all of Google’s free apps like Gmail, Drive, Docs, Slides, Sheets, Chrome, Calendar, YouTube, Maps, and so much more!
If you’re one of the rare few who don’t have a Google account, it’s easy to get started. Go to Google.com and click the blue Sign In button on the upper right corner of the page. On the Sign In page, click the Create account button. You’ll then see something like this on your screen:

Follow the on-screen instructions and you’ll have a brand new Google account in a few minutes.
Now that you’ve got your Google account set up, you’re free to use Google’s very own presentation software, Slides. Type slides.google.com or google.com/slides on your browser, and enter your login details (if you aren’t already signed in).
You’ll then see something like this on your screen:
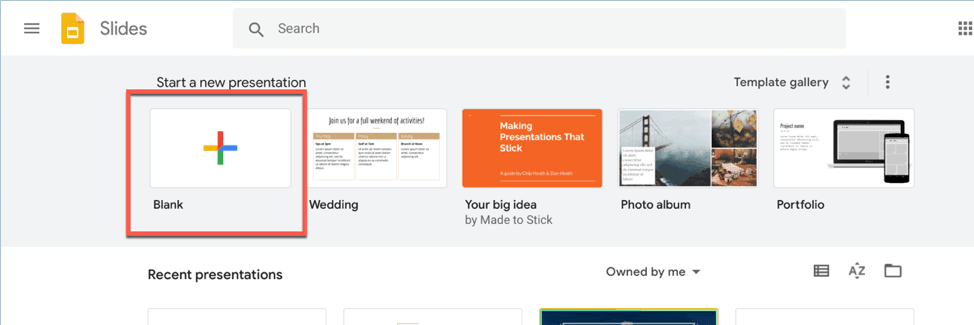
Click on Blank to start a new presentation. Your browser will open a new tab like you see below:
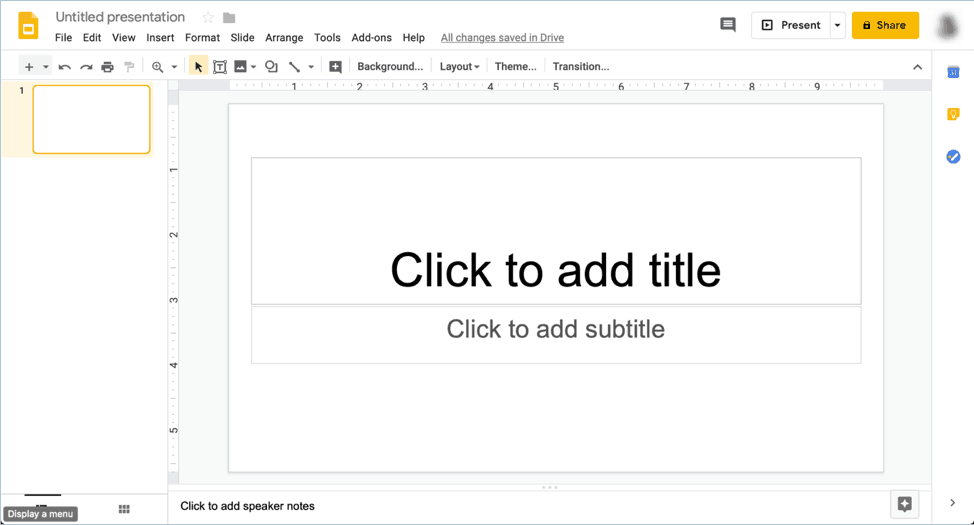
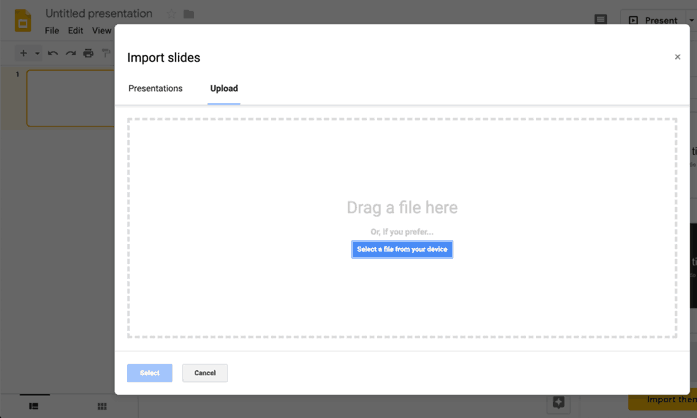
To import your favorite PowerPoint template into Slides, click on File > Import Slides. The next thing you have to do is go to the Upload tab. In here, you can either drag and drop the PPT template, or you can click on the blue ‘Select a file from your device’ button to upload manually.
So, for this example, I downloaded another free template from the 24Slides Template Hub. It’s called Creative 2019 Timeline PowerPoint Template. After I uploaded / imported this template pack into Google Slides, I saw this on my screen:
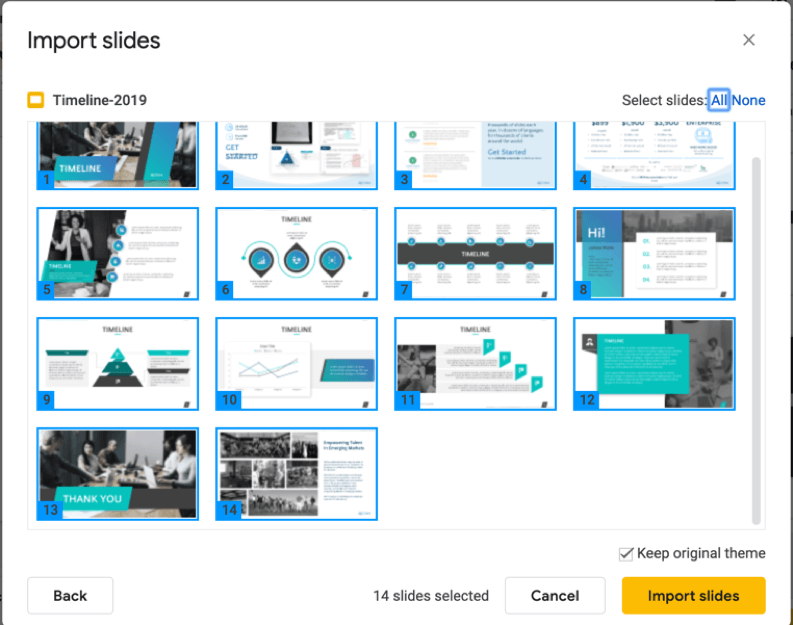
As you can see, you can import all the slides or just select a few. You can also opt to keep the original theme used in the PPT file. When you’ve made your selection, click on the yellow Import Slides button.
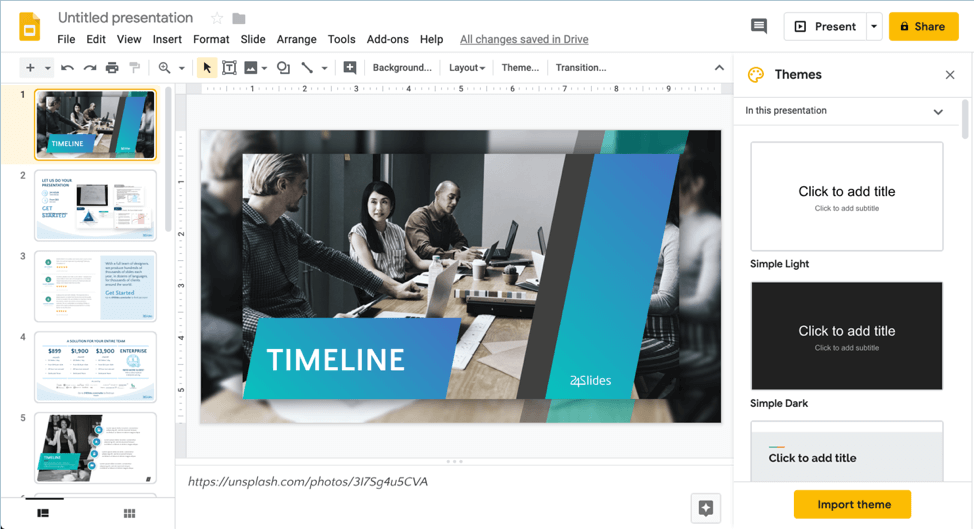
So, now I’ve got all 14 PowerPoint slides imported to Google Slides. I can start editing the file any way I see fit. I can replace the placeholder content and add more elements. Also, I can delete some unnecessary slides, add animations and slide transitions, and so on. I can also change the slides’ look anytime by clicking on any of the Themes listed on the right side of the screen (or import a new theme too).
And just like some of the issues I encountered in Keynote, I also saw the same thing on Google Slides. For instance, the template used Segoe UI and Segoe UI Light. However, these aren’t available in Google Slides. So, it changed the Segoe fonts into Quattrocento Sans.
Most of the slides imported really well into Slides, except for this one:
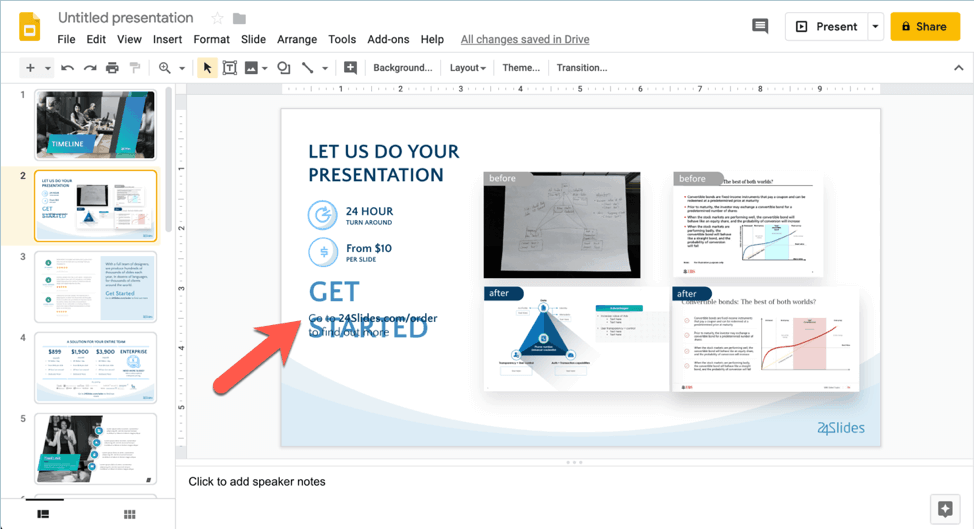
You can see the ‘Get Started’ text got moved around for a bit and is no longer in its original position. For the rest of the slides though, they all looked just like the original PowerPoint template.
How to add new fonts to Google Slides
Another thing I found really interesting with Slides is that you’ve got hundreds of Google fonts to choose from. You need not download anything to your computer, too.
Here’s the quickest way to add new Google fonts to your slides:
1. Click on the text you want to change, so you can access the fonts menu.
2. Click on the fonts drop down and choose More Fonts.
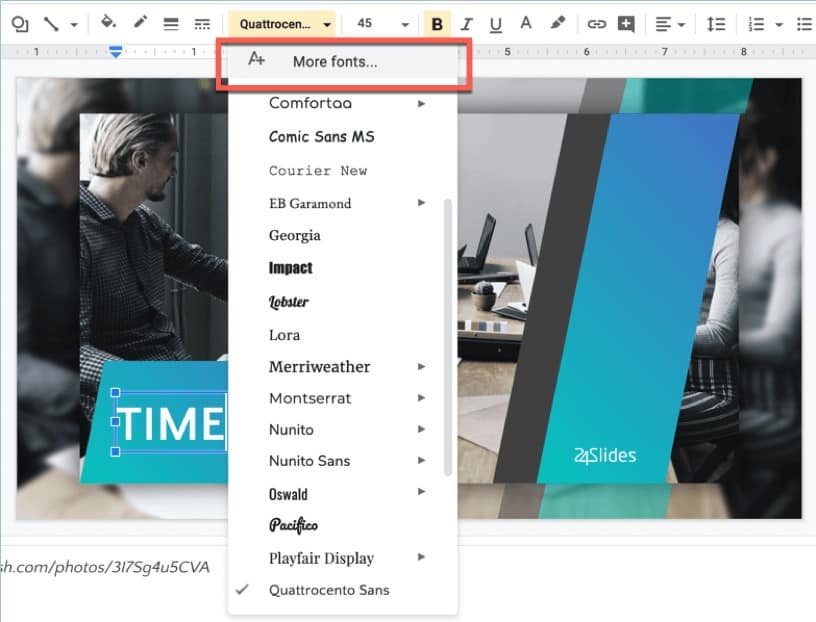
3. You’ll then see this pop-up on your screen:
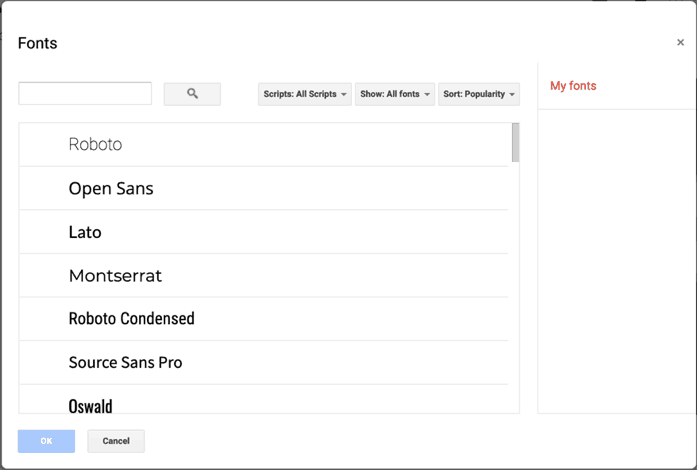
If you know the name of the font you want to use, you can search for it directly in the search bar. Or you can filter the different fonts by script. You can also filter by 5 different categories: display fonts, handwriting fonts, monospace fonts, serif fonts, and sans serif fonts. You can even sort the fonts by popularity. Once you’ve selected the fonts you want to use, you’ll then be able to use these in your slides.
What if there are animations and transitions used in the PowerPoint template?
Just like in the previous section, I also did a simple test to answer this question. Here’s a summary of what I did:
I added transitions to the first 5 slides of the ‘Creative 2019 Timeline PowerPoint Template’ as well as some object animations to one of the slides:
- First slide – Fade transition
- Second slide – Push transition
- Third slide – Wipe transition
- Fourth slide – Split transition
- Fifth slide– Reveal transition
I then saved the PowerPoint file and re-uploaded it to Google Slides. I then went to the Transitions tab and checked out if Slides was able to import the animations. Here’s what I found:
- First slide – Dissolve transition
- Second slide– Slide from left transition
- Third slide– Fade transition
- Fourth slide – Fade transition
- Fifth slide – Fade transition
As for the 4 object animations I added to one of the PPT slides (Appear, Blinds, Dissolve In, Peek In), only the Appear effect made its way to Slides. The rest were replaced by the Fade In effect.
Note that while Google Slides is a fairly robust presentation software, it’s not up to par with PowerPoint. I find it to be fairly lacking in the animations and transitions department. However, if you want to make your presentation simple and straightforward, then Slides is more than enough to help get your job done! In fact, the biggest upside to having fewer choices is you can get your presentation slides up faster. Plus, you’d have more free time to practice your speech and overcome any public speaking anxieties you may have!
What are the saving options in Google Slides?
If you’re new to Slides, you’d probably find it odd to not see a save option when you go to the File menu. You also won’t see the familiar save icon you’ll see on most presentation software.
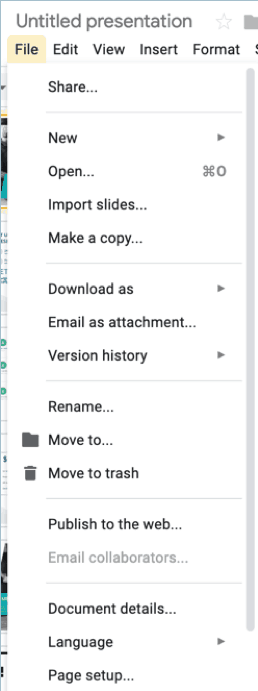
Whether or not you give your Google Slides a filename, it will be automatically saved to the cloud. This is one of the biggest advantages to using Slides over say, PowerPoint or Keynote. Without a filename, it’s just going to be named ‘Untitled Presentation’ and it will be automatically added to your Slides homepage.
Now, if you want to export your Slides into another file type, then you’d need to click on File > Download As. You can choose from 7 different file types: PowerPoint, ODP document, PDF, plain text, JPEG, PNG, or SVG.
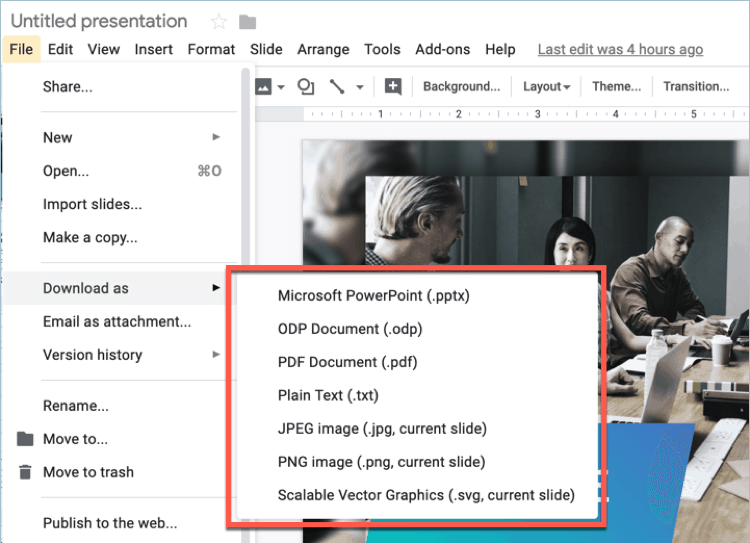
Just remember that exporting your Slides to another format may lead to some errors. So, before you do any presenting or sharing, make sure you go over the exported file and check if all your content is there.

Final Words
PowerPoint truly is the most powerful presentation software there is. You don’t even need to open PowerPoint to use its templates. As you’ve learned in this article, you can use PowerPoint templates in both Apple Keynote and Google Slides. Sure, it may not be a 100% native experience. But with a few adjustments, you can convert those PPT templates into powerful Keynotes and Google Slides for your next presentation!
You might also find this interesting: How To Use PowerPoint For Your Webinar