How to Make a Timeline in PowerPoint? Step by step

In this article, we're going to show how to make a timeline in PowerPoint, one of the most famous software for designing presentation decks.
When presenting a list of events in sequential or chronological order, it's best to use a graphical representation, also known as a "timeline." Of course, you can also use just text to explain the same.
Still, when presenting a timeline in PowerPoint, it's preferable to use a visual representation, so your audience can easily follow a chain of events from the starting point to the endpoint.
To complete your learning, we'll share some tips from Briana Ripas, Design Manager at 24Slides Peru. These will allow you to take your presentations to the next level. Don't miss them!
In summary, you'll find:
- How do you Make a Simple Timeline in PowerPoint?
- How to Make a Project Timeline in PowerPoint?
- What is the Best Way to Create a Timeline?
- Free Timeline Templates for PowerPoint
- FAQ: Frequently Asked Questions to create unique timelines
Ready to master how to make a timeline in PowerPoint?

How do you Make a Simple Timeline in PowerPoint?
Learning how to create a simple timeline in PowerPoint is a process that goes beyond the software itself; there are more steps to consider. We will explain everything you need to know step by step. Take some notes!
1. Create a Draft with all the Milestones of your Timeline
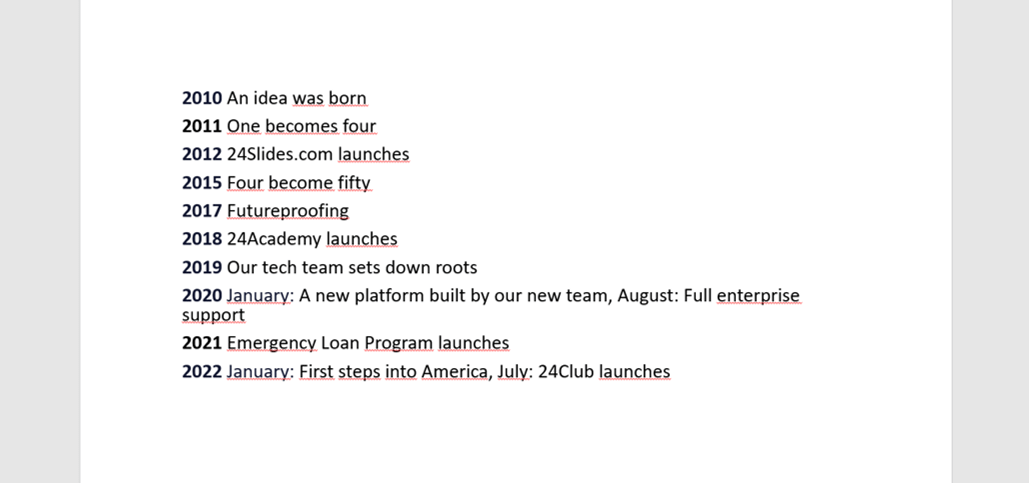
The organization is essential when learning how to make a simple timeline in PowerPoint. The first step is to create a draft with all the dates and events of your timeline.
We recommend that you take some time to organize this part and create a timeline more efficiently. Here's our draft, which will serve as a guide to starting your own timeline in PowerPoint:
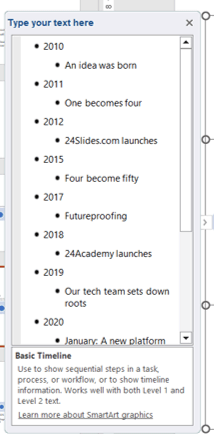
Once you have all the dates and events organized like the example, you should arrange the information as follows:
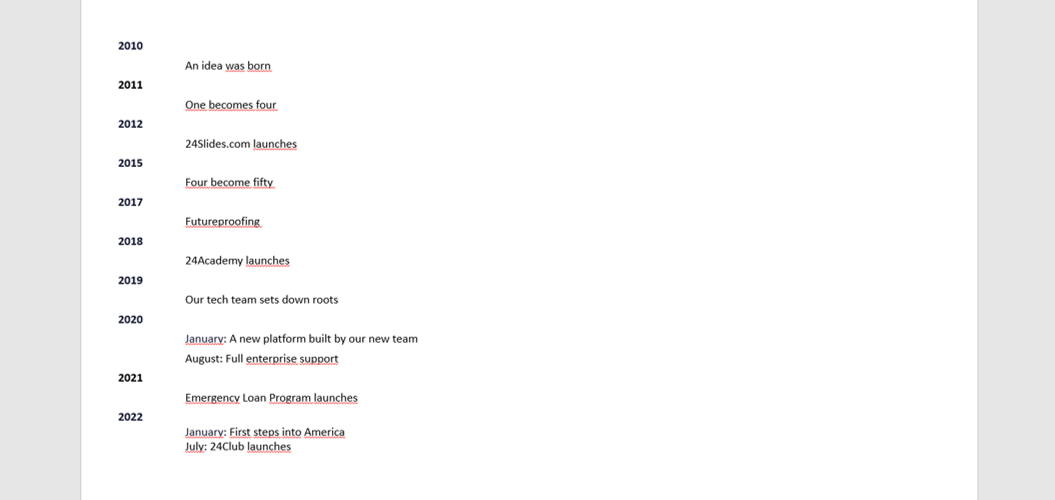
- To achieve this, press the "Enter" and "Tab" keys as you add data to your timeline.
Magic happens! If you don't believe me, follow the next step to learn how to make a timeline in PowerPoint in seconds.
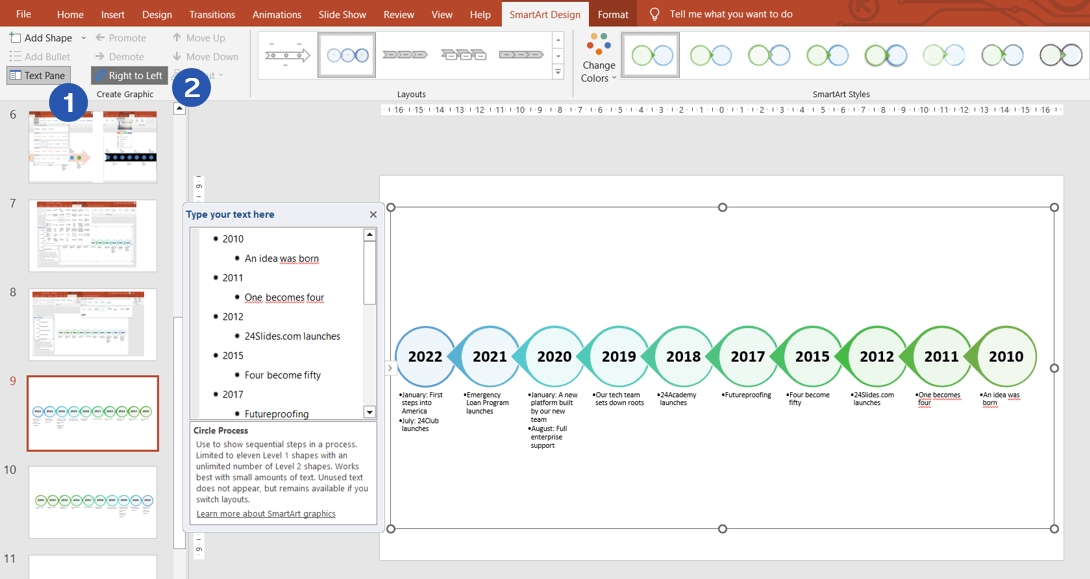
2. Use PowerPoint's SmartArt to create your Timeline in seconds
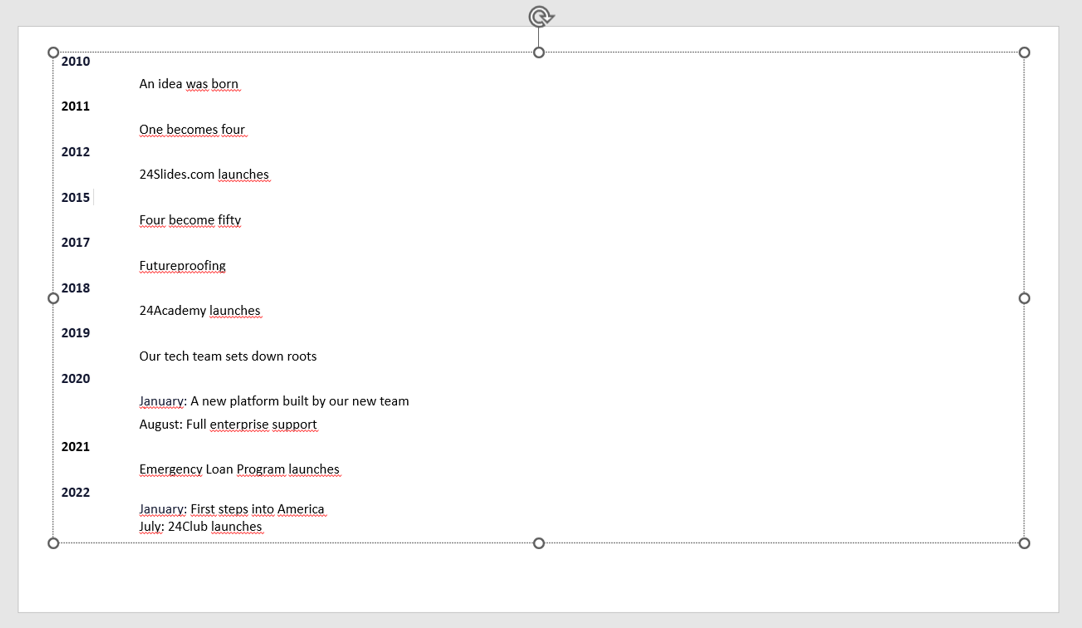
Once your information is organized, PowerPoint's SmartArt will work its magic. Select the text box as follows:
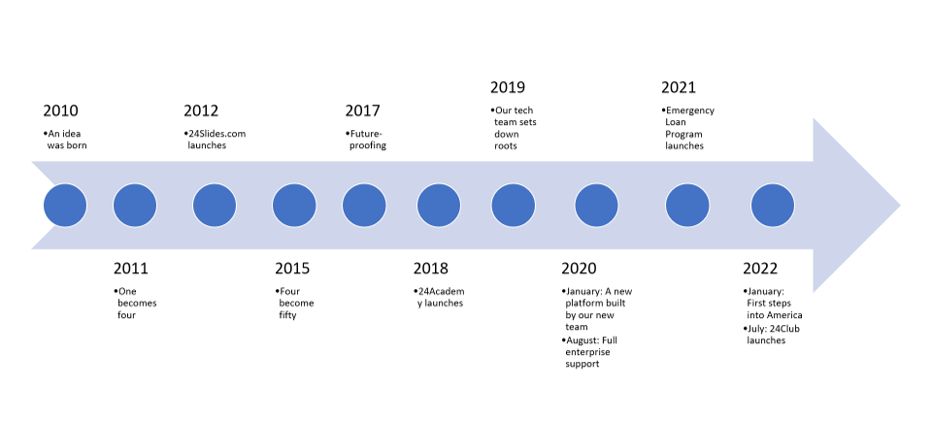
Ensure you are on the "Home" tab and look for the "Convert to SmartArt" button. Insert the timeline design you prefer (it can be changed later).

And voila! If you have followed each step carefully, you now have the first draft of your timeline design in PowerPoint.
There is more on how to make a timeline in PowerPoint. If you want to create a unique and eye-catching design, please stay tuned for the next step!
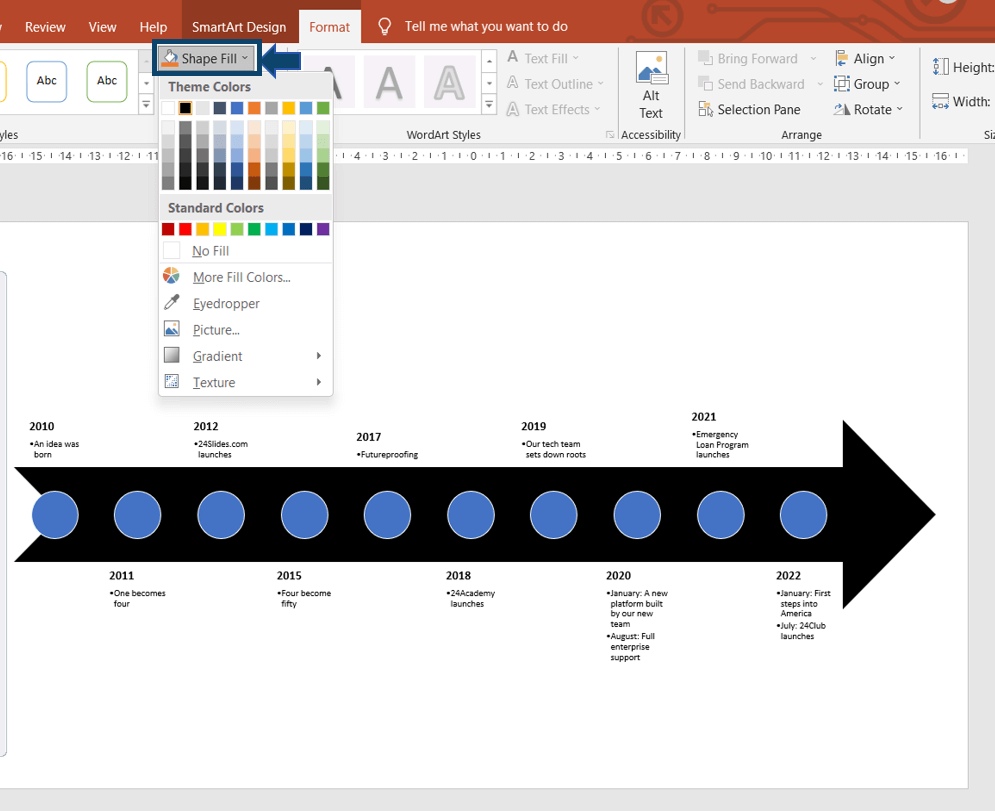
3. Customize the Colors of your Timeline in PowerPoint
A great feature of PowerPoint is that it's an intuitive presentation design software. We recommend customizing the colors of your timeline, which can be done in two ways:
1. Use the default colors from the "Smart Design" tab
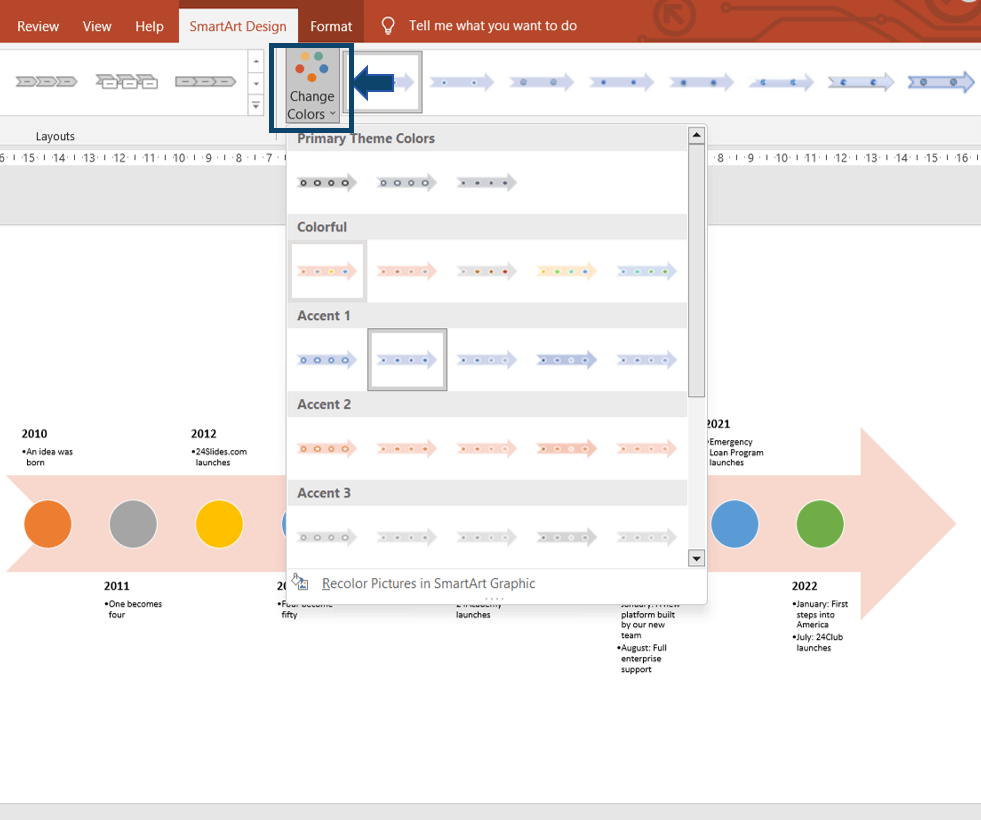
2. Customize each element in the "Format" tab
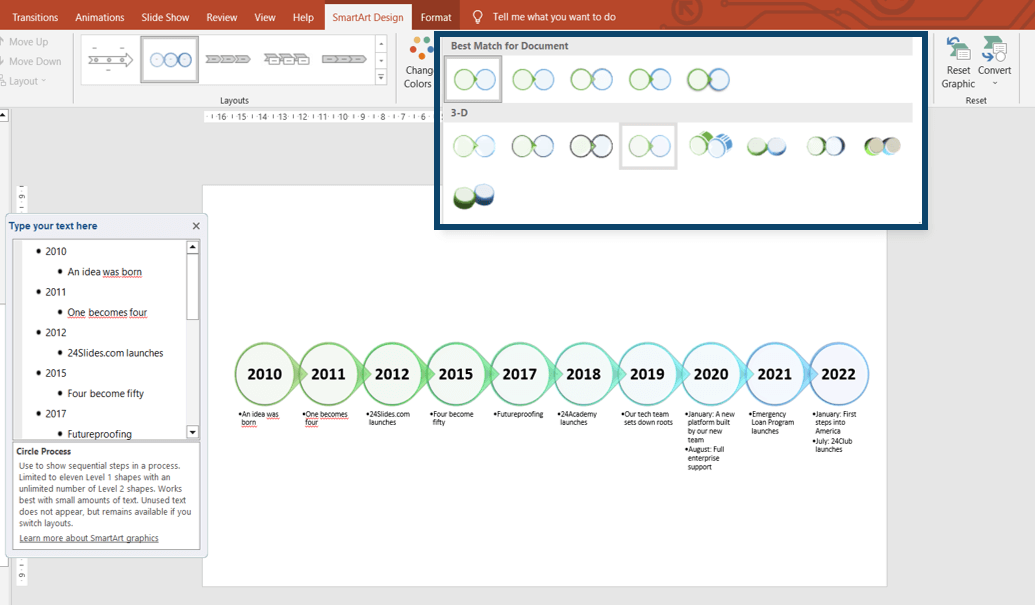
4. Customize the Layout of your Timeline in PowerPoint
If you have a bit more time before presenting your project, you can customize the layout of your timeline in PowerPoint. You have a long list of designs to choose from!
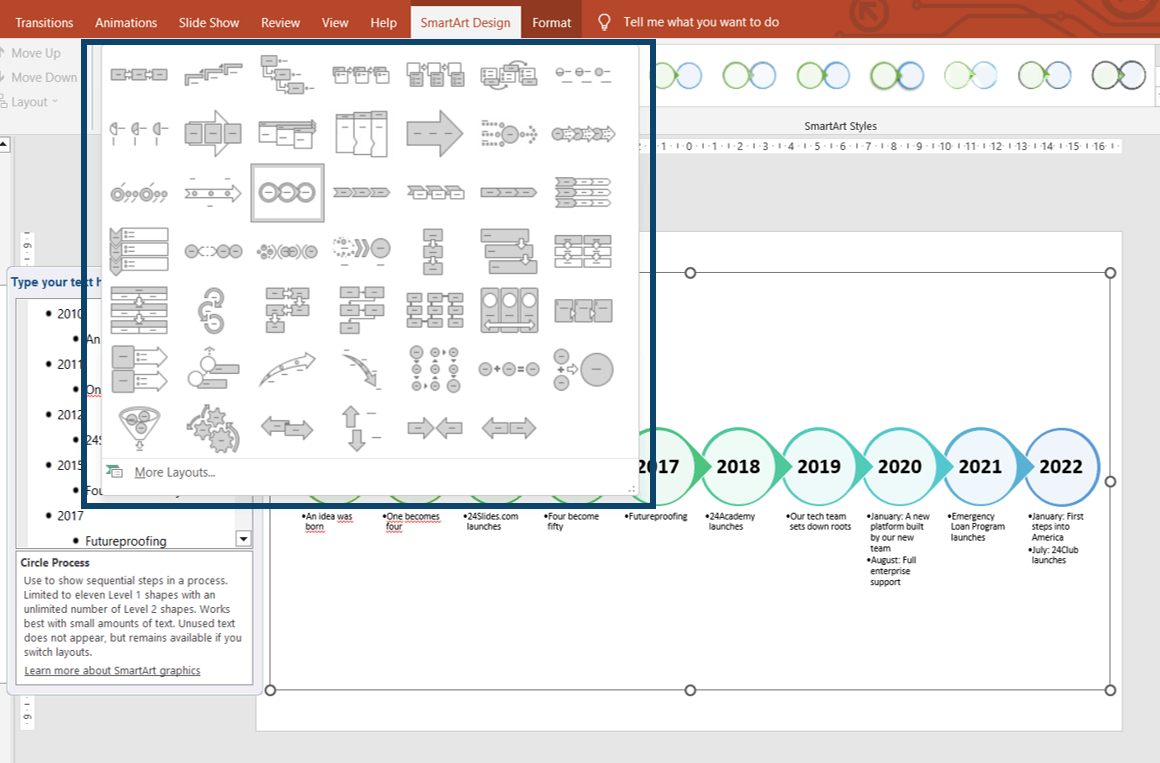
Some visual effects can also be added to your timeline in PowerPoint.
Additionally, if you want to change the direction of the arrow in your timeline, you can do so with this software.
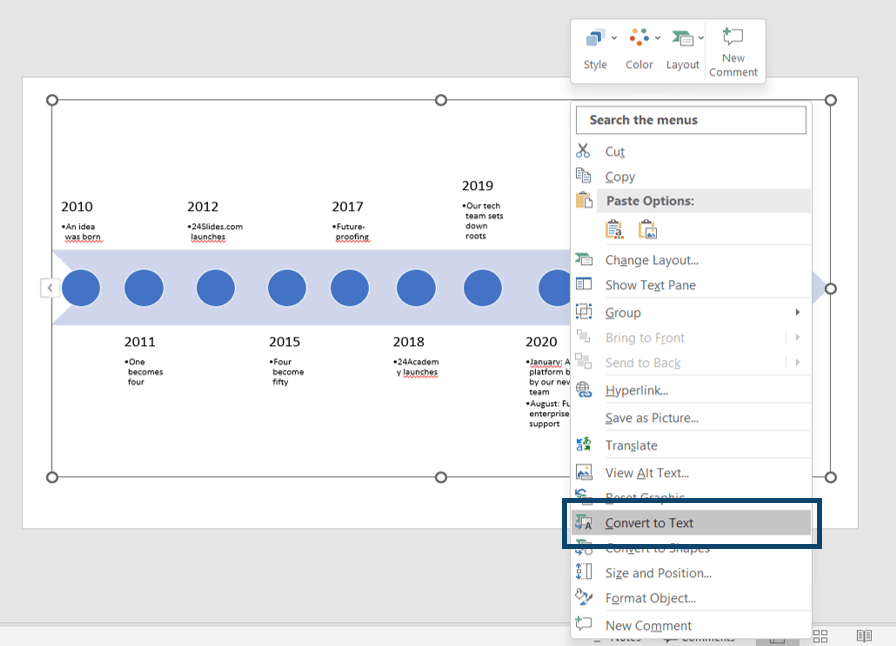
5. Correct any Dates on your Timeline if necessary
The process of learning how to make a timeline in PowerPoint is not linear, so if you forgot a date or want to add some information, you can do it from the following panel:
Another way to change information on your timeline in PowerPoint is:
- Right-click on the timeline > Convert to Text > Edit the text as needed, following the instructions in Step 1 of this guide.
Now you know how to make a simple timeline in PowerPoint! The design options are endless in this software.
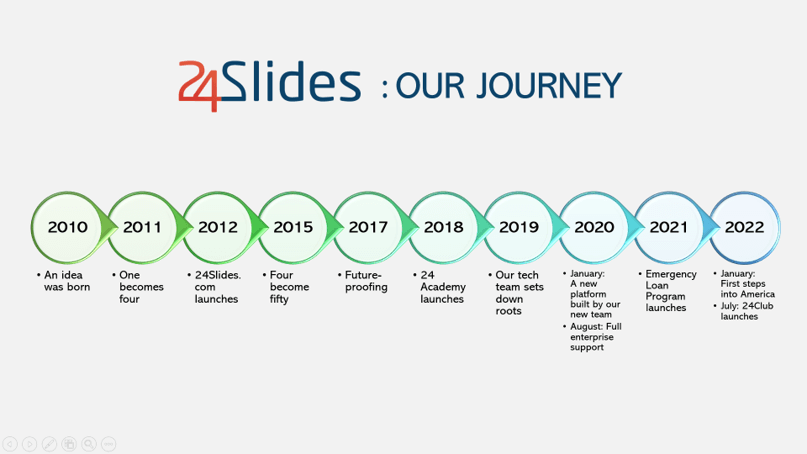
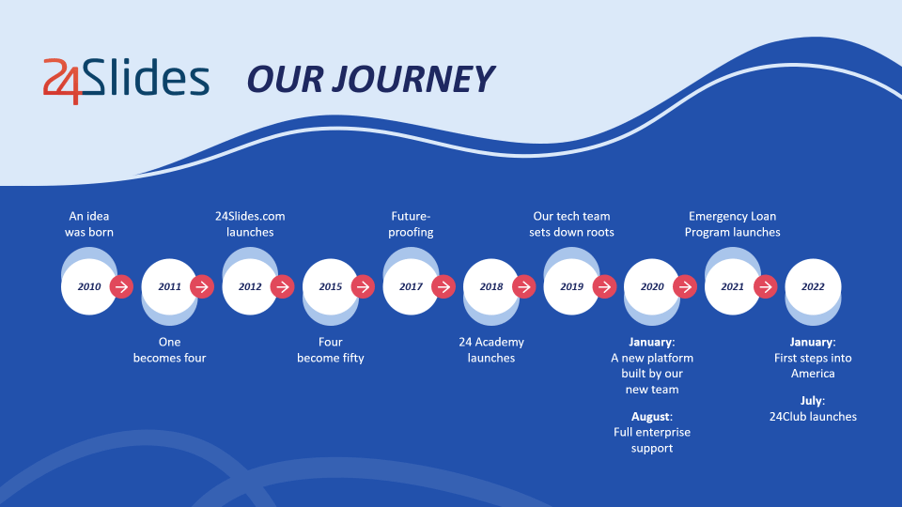
Before moving on to the next section of how to make a project timeline in PowerPoint, we'd like to give you a taste of how our Designers improved the previous PowerPoint timeline. We hope it inspires you as much as it does to us!
How to Make a Project Timeline in PowerPoint?
Unlike a simple timeline in PowerPoint, a project timeline or project management timeline has multiple vital elements that need to be highlighted in your chart. Therefore, the process may be longer than the previous guide.
Here is a step-by-step guide on how to create a project timeline in PowerPoint:
1. Organize your Project Information
Each project is unique, so we recommend that you organize its most relevant elements. As an example, we will consider the following elements:
- Responsible individuals/leaders
- Project development timeline (months)
- Significant milestones
- Major tasks
- Task dependencies
We recommend working on your project draft simultaneously while reading this guide on how to make a project timeline in PowerPoint. If not, you can just read the entire guide first and then implement each step. The choice is yours!
2. Choose the type of Project Timeline Design you want
Numerous types of project timelines exist, some resembling Gantt charts. This guide will focus on designing a simple project timeline tailored for high-impact presentations.
If you're curious about Gantt charts, you can find Gantt Chart templates for project presentations in our repository. Use them wisely!
3. Begin Designing based on your Project Timeline Draft
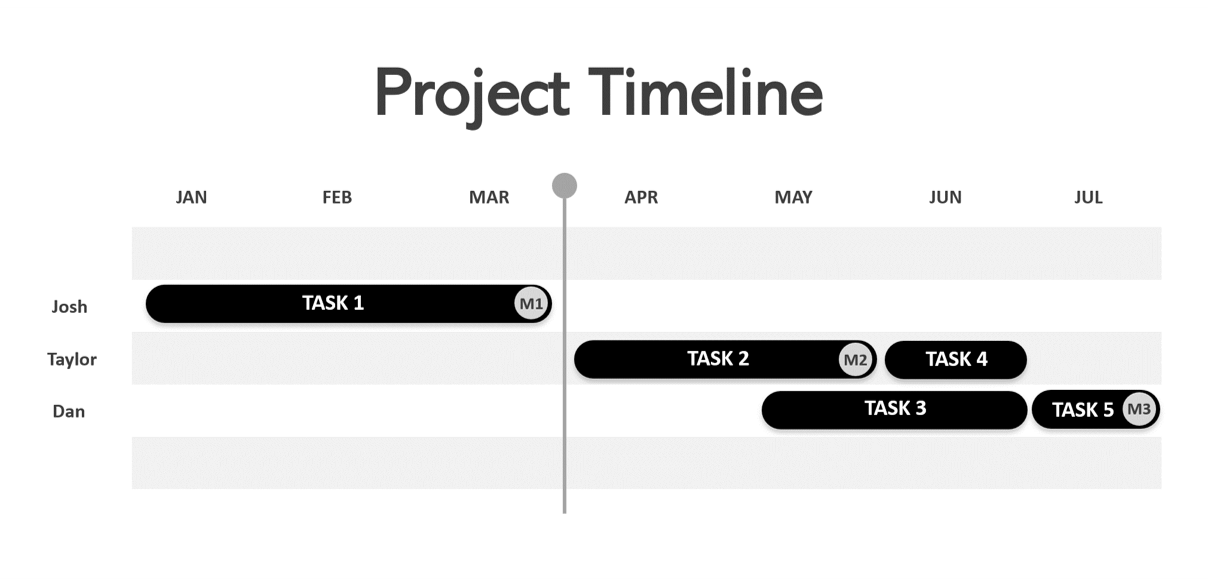
Let's dive in! With all the previous organization in place, begin shaping your project timeline. We'll start by creating the overall structure of the chart:

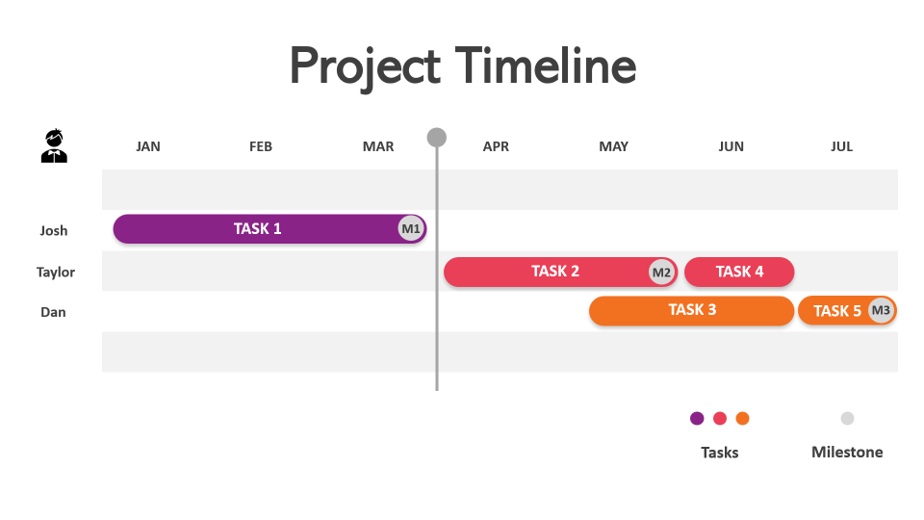
Next, incorporate all the elements from the draft outlined in the first step of this guide. This is how our project management timeline begins to take shape:
To simplify the process of creating this style of project timeline, you can download our Creative Timeline PowerPoint Template Pack for free. You won't regret it!
4. Customize the Colors and Effects of your Project Timeline
Adding color to your project timeline is essential to achieve a high-impact presentation. There are no strict rules in this step; it will depend on your creativity and the characteristics of your project.
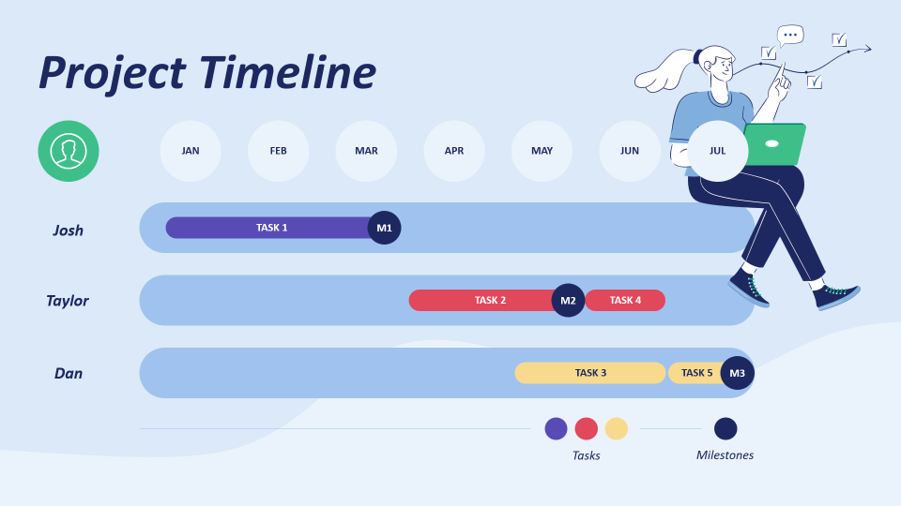
Also, you can consider adding a legend in the footer of your project management timeline to ensure it's clear for your audience. Here's an example of how our design turned out:
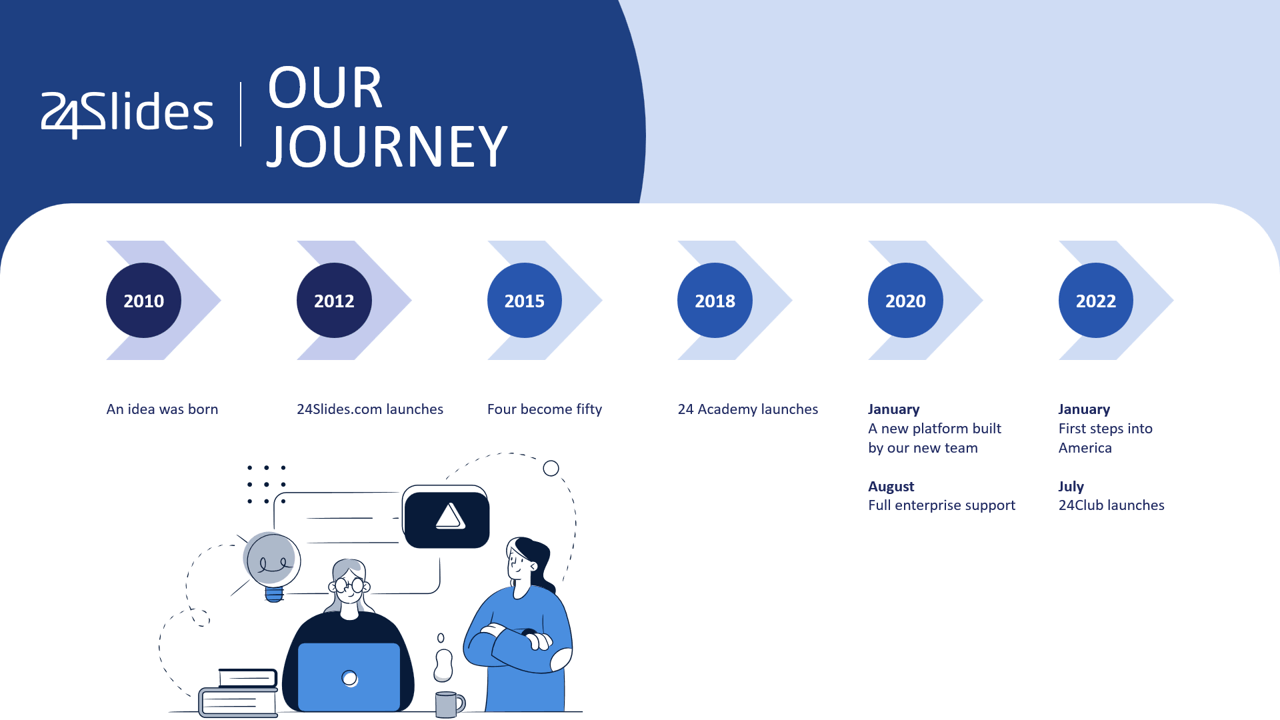
As in the previous section, we want to share with you the final timeline design made by our In-house Designers at 24Slides:
Now you know how to make a project timeline in PowerPoint. It's easier than it seems!
What is the Best Way to Create a Timeline?
Learning how to create a PowerPoint timeline involves several aspects before designing your own on the platform. For this reason, Briana Ripas, Design Manager at 24Slides, wants to share some tips with you. Point them all!
1. Get Inspiration
There are plenty of places on the Internet to get ideas on creating a great-looking timeline. Timeline infographics are handy because they are really eye-catching.
You can navigate on the internet and browse through millions of graphics submitted and shared by members. For example, here's what my search for "timeline infographic design" on Google Images gave me.
Also, Briana wants to share some of her favorite sites to get inspiration before designing: Pinterest and Behance.
She says:
“ I assure you that you will find a lot of inspiration to create a timeline that adapts to what you want to express and begin to detach yourself from predetermined designs. That way, you can make it from scratch, and it has everything you are looking for”
2. Use Vector Graphics
You should use vector graphics for visually enticing timelines, as these are fully scalable and can be resized without pixelating. This is a very commonly used resource by professional designers, so if you want your final design to look professional, don't hesitate to look them up.
But, where do you find vectors? Here are a few sites to download free vectors for your timelines: Freepik, VectorStock, and Vector4Free.
3. Use Animations and Slide Transitions
Briana's next tip is: “Don't show your timeline all at once.”
Instead, you can show only the first point and talk about it before you continue with the next section. Using animations will also help the dynamics of your presentation and keep your audience's attention.
4. Follow your Graphic Guidelines
If you have a graphic identity, you must respect it when creating your timeline in PowerPoint. It's crucial!
This practice has many benefits, including building brand awareness with your audience and giving the impression that your work is professional (and therefore trustworthy).
Briana says:
“Some companies already have an established brand manual, and the main thing is to follow its aesthetics, flow, and feel. This is a characteristic that I always take into account when designing a graphic piece for a client.”
Free Timeline Templates for PowerPoint
If you're looking for some inspiration for your designs or don't have time enough to follow all the steps of our guide: How to make a timeline in PowerPoint, then these templates will delight you:
Free Timeline Template for PowerPoint #1
In this timeline template, you'll find various designs that will undoubtedly save you a lot of time in your creative process. Especially if your project has a red color palette, this is the perfect match for you.
Download our PowerPoint Timeline #1 here.

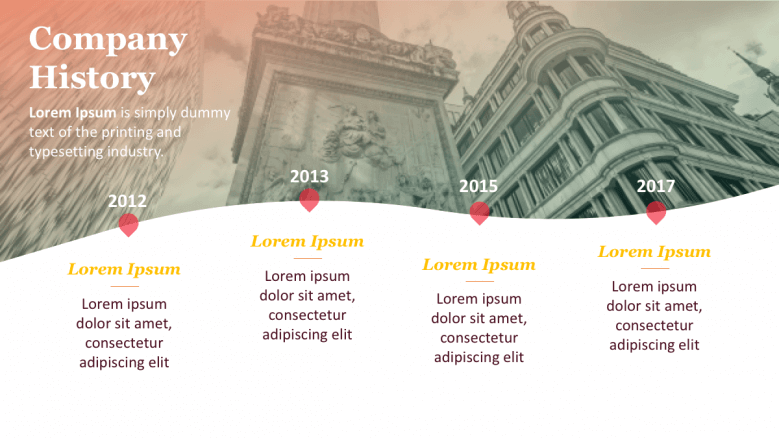
Free Timeline Template for Powerpoint #2
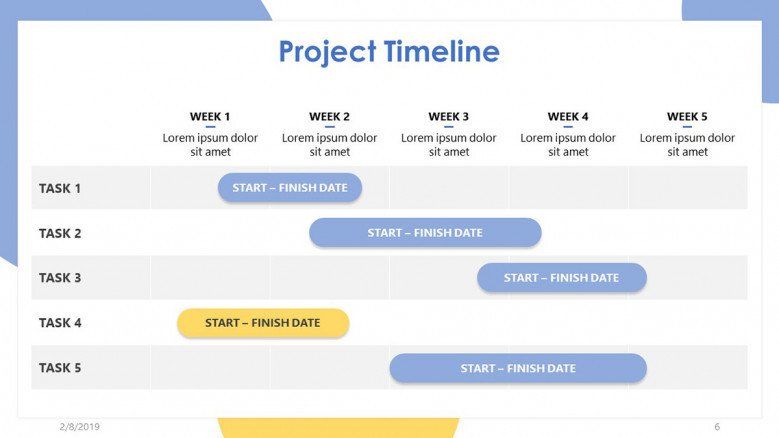
This next project timeline template in PowerPoint is characterized by its warm colors. If you have an ongoing project, this resource will be very useful for summarizing your tasks and deadlines.
Download our PowerPoint Timeline #2 here.
Free Timeline Template for PowerPoint #3
This is a pack of free templates features colorful and creative timelines. Take a look at one of our designs below!
Download our PowerPoint Timeline #3 here.
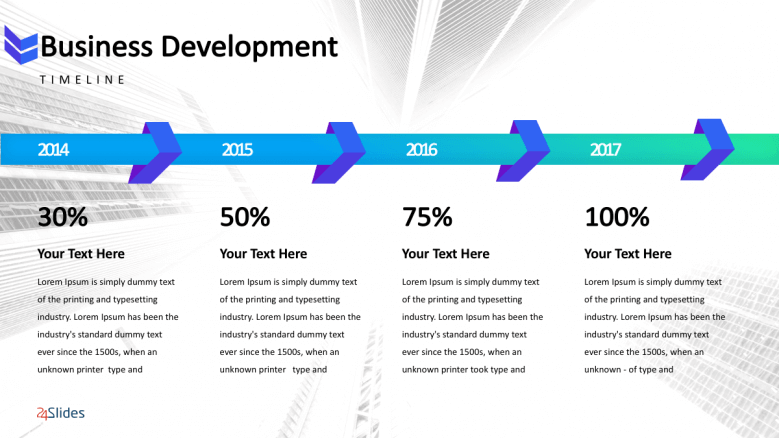
Free Timeline Template for PowerPoint #4
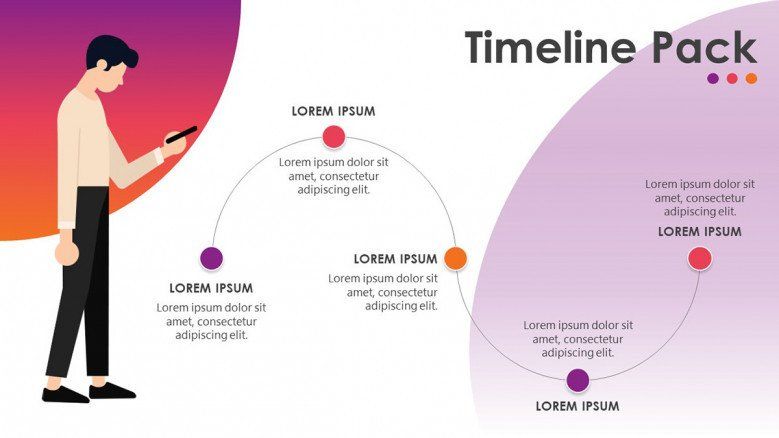
If you like gradient designs, these timeline templates will be your perfect match. Moreover, you'll not only find timeline designs but also other graphics for your business or work presentation.
Download our PowerPoint Timeline #4 here.
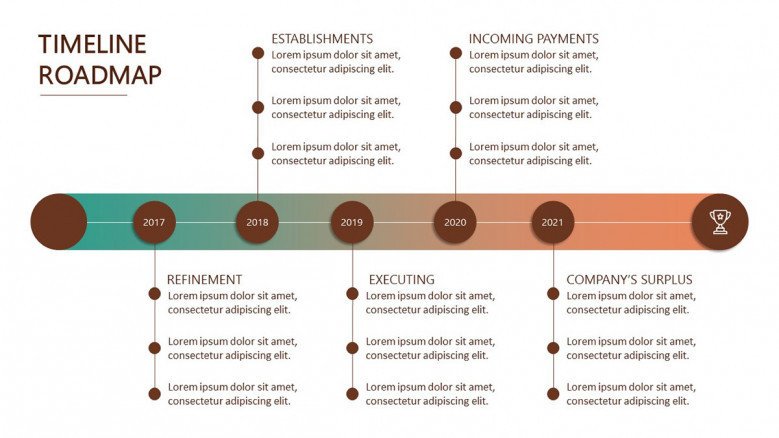
Free Timeline Template for PowerPoint #5
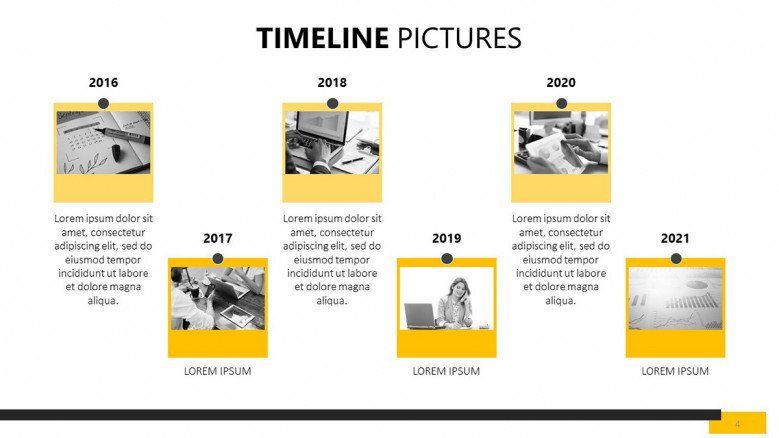
This is another pack of free timeline templates. Unlike the previous templates, these designs stand out for their use of images. Get inspired by our designs and adapt them to your needs!
Download our PowerPoint Timeline #5 here.
Free Timeline Template for PowerPoint #6
This template is for you if you're looking for a simple but professional timeline design. Download it for free!
Download our PowerPoint Timeline #6 here.
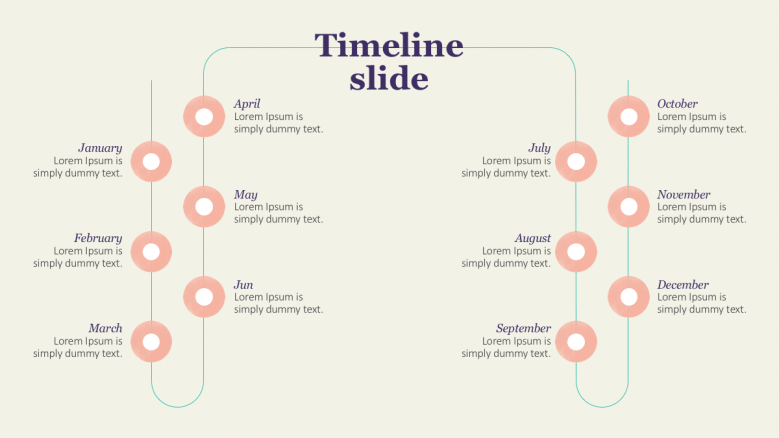
Free Timeline Template for PowerPoint #7
Timelines don't always have to be linear (as ironic as it sounds). This free PowerPoint template will show you how to organize your temporal data in a different way.
Download our PowerPoint Timeline #7 here.
Free Timeline Template for PowerPoint #8
Finally, this free timeline template contains a creative design for organizing your information. If you're looking for templates with pastel colors, this design is for you.
Download our PowerPoint Timeline #8 here.
If you want to master and know all the details of how to make a timeline in PowerPoint, we recommend you keep reading the next section.
FAQ: Frequently Asked Questions to create unique timelines
1. When would you use a timeline?
Nowadays, the use of timelines encloses many areas of work, including:
- If you're a history teacher, you can present a timeline of whatever historical event you're going to discuss.
- If you're a project manager, you can present a timeline of your project's milestones, deadlines, and deliverables.
- If you are a startup founder looking for investment, you may want to include your product or project's timeline so potential investors can see if getting involved with your company is worthwhile.
There are plenty of uses for a timeline in PowerPoint, and it's ultimately up to you if you need one for your presentation.
2. How do I add a point to my timeline in PowerPoint?
In case you're using a SmartArt timeline layout, you can follow these steps:
- Click on the last point of your timeline.
- Go to the "SmartArt Design" tab.
- Click on "Add Shape."
You can also add points to the chart by expanding the information in the control panel, which automatically appears when creating the timeline in SmartArt.
3. What elements should be in a project timeline?
Project timelines can vary depending on the specific characteristics of each project. However, we can summarize the main elements typically included:
- Start and End dates: Every project has a defined start and end date, so the project timeline should reflect that.
- Phases: It is common to divide a project into phases or stages, and you can include this information in the timeline.
- Milestones: These are significant events or checkpoints within the project. They can include task deadlines, intermediate monitoring dates, or any notable tasks.
- Tasks: These are the activities that need to be completed to progress with the project.
- Task Dependency: Some tasks in your project may depend on the completion of others, so you should have that detail mapped out when capturing it on your project timeline.
Please note that these are general guidelines for making a project timeline, and you can customize the elements based on your project's specific needs and requirements.
4. What software do you use for timeline?
If you don't know what software to use to make a timeline, we recommend you review our article: 15 Popular PowerPoint Alternatives (Full Comparison Guide).
Thank us later!
If you got here, we're sure you've mastered how to make a timeline in PowerPoint. As you can see, the steps are really easy to follow, but the dedication of time to this process will determine your final outcome.
In case you have some trouble replicating our steps, our team of designers at 24Slides is pleased to help you and optimize the process for you. You can try our abilities out for just $1!

These articles are waiting for you: