How to Rebrand a PowerPoint Template after a Brand Refresh
Rebranding our PowerPoint templates after a brand refresh is a crucial branding aspect. Why? Because it helps us ensure consistency in all our presentations, which is key when we want people to recognize and trust our brand.
We know this can really make a difference in your business's reputation, even in its sales. That's why today we'll go step-by-step on how to rebrand your PowerPoint templates to match the brand you want to express.

These are the topics we’ll go over:
- How do you rebrand a PowerPoint presentation template?
- Start with the basics: Collect all your brand elements
- Now, start implementing the changes: How do I change an existing template in PowerPoint?
- Learn how to update a PowerPoint template: Start using Slide Master to make things easier!
- Get tips and tricks from the best: Expert insights for rebranding a PowerPoint template
Let’s begin! Or, as always, you can skip to your preferred section.
How do you rebrand a PowerPoint presentation template?
Fortunately, rebranding a PowerPoint presentation is simpler than you might think. Follow these steps to learn how to do it effectively (and even discover an amazing shortcut along the way!):
Collect all your brand elements
Before working on the template file itself, you should collect all the elements you’ll need to update it. Consider all the new components involved in your brand refresh. These include:
- Color palette: Select all of your brand’s colors and write down their code (the 6-symbol code starting with a hashtag) so you can now add them to your PowerPoint template.
- Logo: Locate your brand's updated logo. Ensure you have high-quality versions in appropriate file formats, such as PNG or SVG, and all the necessary variations.
- Typography: Take note of the specific font names and variants (e.g., regular, bold, italic) that have been approved. Consider which ones are for titles, headers, and body copy.
- Illustrations, shapes, and icons: Collect all your updated illustrations, shapes, and icons, and take note of how you’re supposed to use them (or how you shouldn’t).
- Photography: If your brand's visual style involves photography, you could look for examples according to its style to include them.
After gathering all of your brand’s elements, create a branding assets folder on your computer or cloud storage platform to organize all of your resources.
Start implementing the changes: How do I change an existing template in PowerPoint?
Now, it’s time to implement the changes! The first step to changing an existing template in PowerPoint is to open the template you want to change.
Now, instead of making the changes manually, we will use a shortcut: the Slide Master.
How to update a PowerPoint template: Start using Slide Master to make things easier!
Once you have your template open, follow these simple steps:
- Click View.

2. Look for the Master Views section.
3. Select Slide Master.
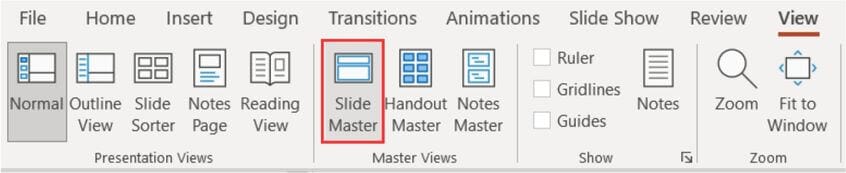
You'll be able to see your presentation, and an additional slide will appear first. This is the "Master Slide."
All the changes you will make in this Master Slide will be propagated to other slide layouts (except for a few, like the covers), so it will help you make all of your changes faster and easier.

How to change your template’s font on the Slide Master
Once you open the Slide Master and select the Master Slide:
- Click Fonts in the Background section.

2. Select Customize Fonts from the dropdown menu.
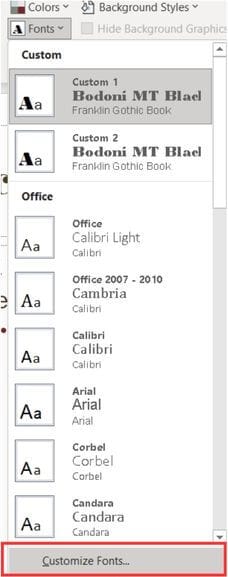
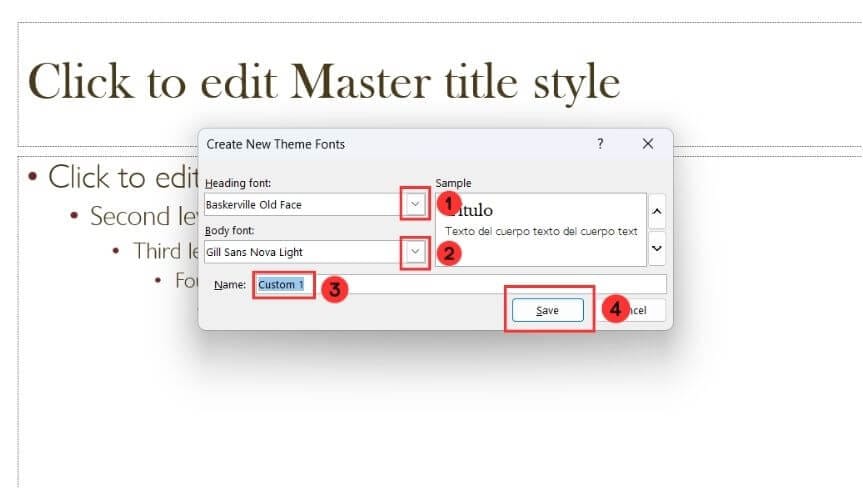
Now, you can select the fonts that were chosen during your brand refresh for both headings and body. Go ahead and give them a name and simply click on the Save button to save your choices.
To see your changes, you need to click on Close Master View in the close section:

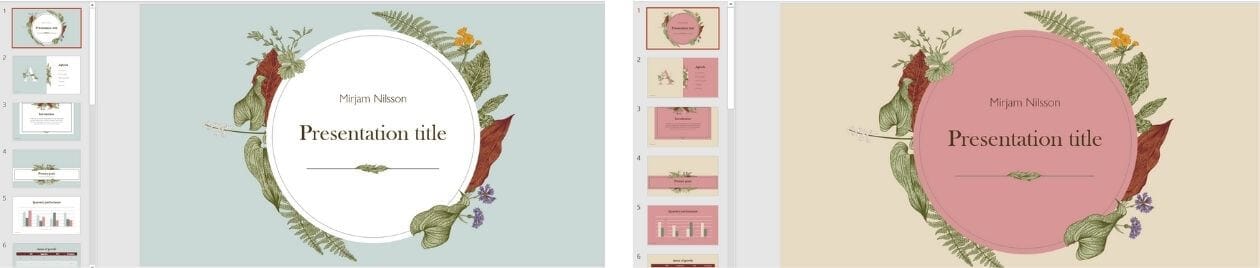
Now, you’ll be able to see the changes in your template.

If you’d like to change your font’s color, follow these steps:
- Highlight the text you want to change.
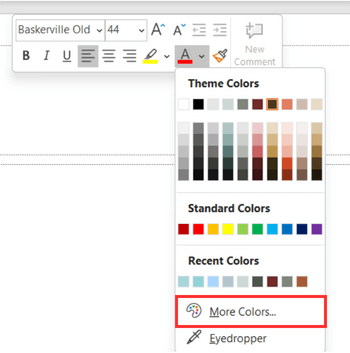
- Left-click and choose the dropdown symbol from the font color options.
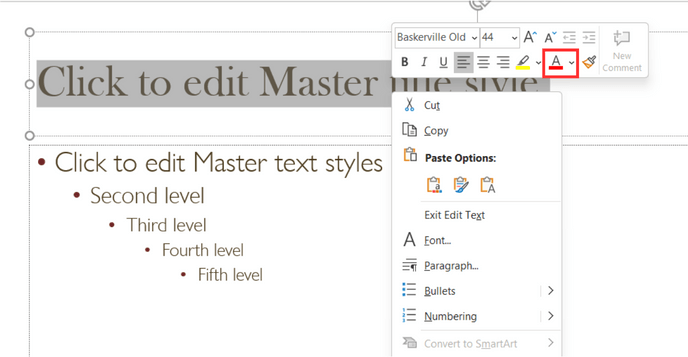
3. Select more colors.
4. Where it says "hex," enter the hex color code you saved earlier for the font.
Finally, to view your changes, click on Close Master View.
How to change your template’s color theme on the Slide Master
- Click Colors in the Background section.

2. Select Customize Colors from the dropdown menu.

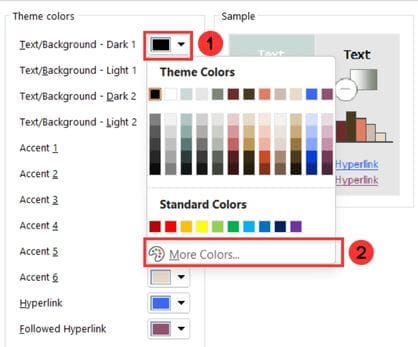
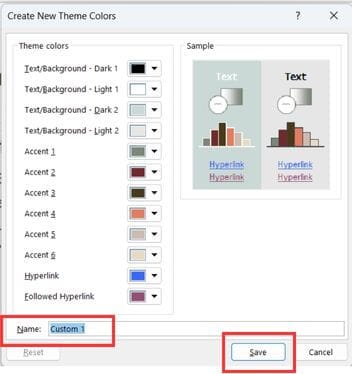
Now, you can select the color for each element of the presentation. To choose the exact color that was decided upon during the refresh, follow these steps:
- Pick the element whose color you want to change, click on the arrow down, and select More Colors.
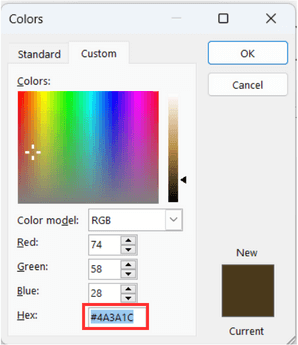
2. Click on the Custom tab.
3. Where it says "hex," enter the hex color code you saved earlier.
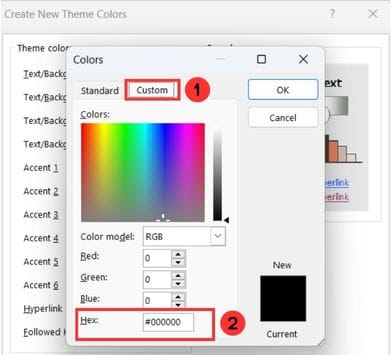
4. Repeat the same steps to change all of the element’s colors.
5. Give your combination a name and click the Save button to save your choices.
And finally, click on Close Master View so you can see your changes.
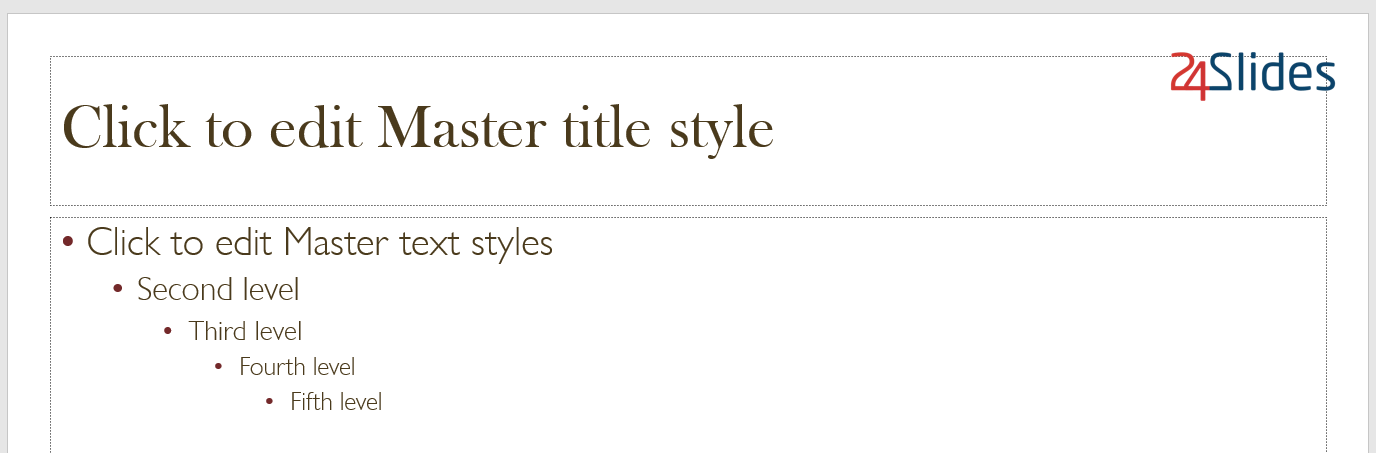
How to insert your brand’s logo on the Slide Master
To insert your brand’s logo on the master slide:
- Place your logo where you want it to appear in all your slides.
- Adjust the size as needed.
Now click on Close Master View to see your logo in all your slides.

Expert insights for rebranding a PowerPoint template
If you're considering rebranding your PowerPoint template, we've got you covered. Meet Ery Bagas Asmara, design manager from 24 Slides, ready to guide you through the process. Let's explore their expert tips and make your template rebrand a success.
- Get to know the new Brand Identity
Really understanding the brand's new direction is vital. When a brand changes, learn where it's headed, its audience, and its values. This knowledge guides your PowerPoint template creation. As Ery Bagas says:
“When a brand gets a makeover, it means it's changing to meet new goals. Even if you already know the old brand, take time to learn about the new one. This helps you understand where the brand is heading, who it's targeting, what it stands for, and more. These insights will guide you in creating PowerPoint templates.”
2. Add a special visual element
After studying the new brand, use its colors, shapes, or logos in your templates to make them stand out, this will help you make your template unique. In Ery’s words:
“After you've learned about the new brand, you'll find ideas to improve your PowerPoint templates. Look for something unique, like a color, shape, or logo detail from the new brand, and use it in your templates to make them stand out.”
3. Check your template
After you’ve finished working on your template, make sure to re-check it using your brand guidelines to ensure it truly reflects the brand. As Ery shares:
“Once you've made your PowerPoint template based on the new brand, check if it really represents the brand. Compare it to the brand's guidelines or ask your coworkers for their thoughts.”
Tired of editing your brand's templates? Check out how 24Slides can help you out!
Rebranding your brand’s presentations after a brand refresh can be a tiresome (and time-consuming) process. Especially if you have tons of customized presentations, getting them in line with the new brand guidelines can be pretty tedious.
So why not let professionals take care of it? 24Slides designers will make sure that all your presentations are perfectly on-brand and that they convey all of your company’s values.
Name what you need, 24Slides got you covered! We can help you by:
- Rebranding your brand's template.
- Create a branded template with your new guidelines.
- Rebranding ALL of your PPT presentations.
Does this sound like something you’d like? Reach out to begin the process!